
Description
This module introduces the ability to define custom inventory fields in Zabbix through a graphical interface. inventoryMAX utilizes dedicated macros in the format {INVENTORYMAX.*}, whose values can be either numeric or string-based. The visibility and order of inventory columns can be configured and customized, and these custom fields can also be combined with native {INVENTORY.*} macros for extended flexibility. It is a PRO module for Zabbix 6.0 – 8.0; data remains in the Zabbix database and can also be used by matrixMAX-detail views.
The module configuration is available under Administration → inventoryMAX fields config.
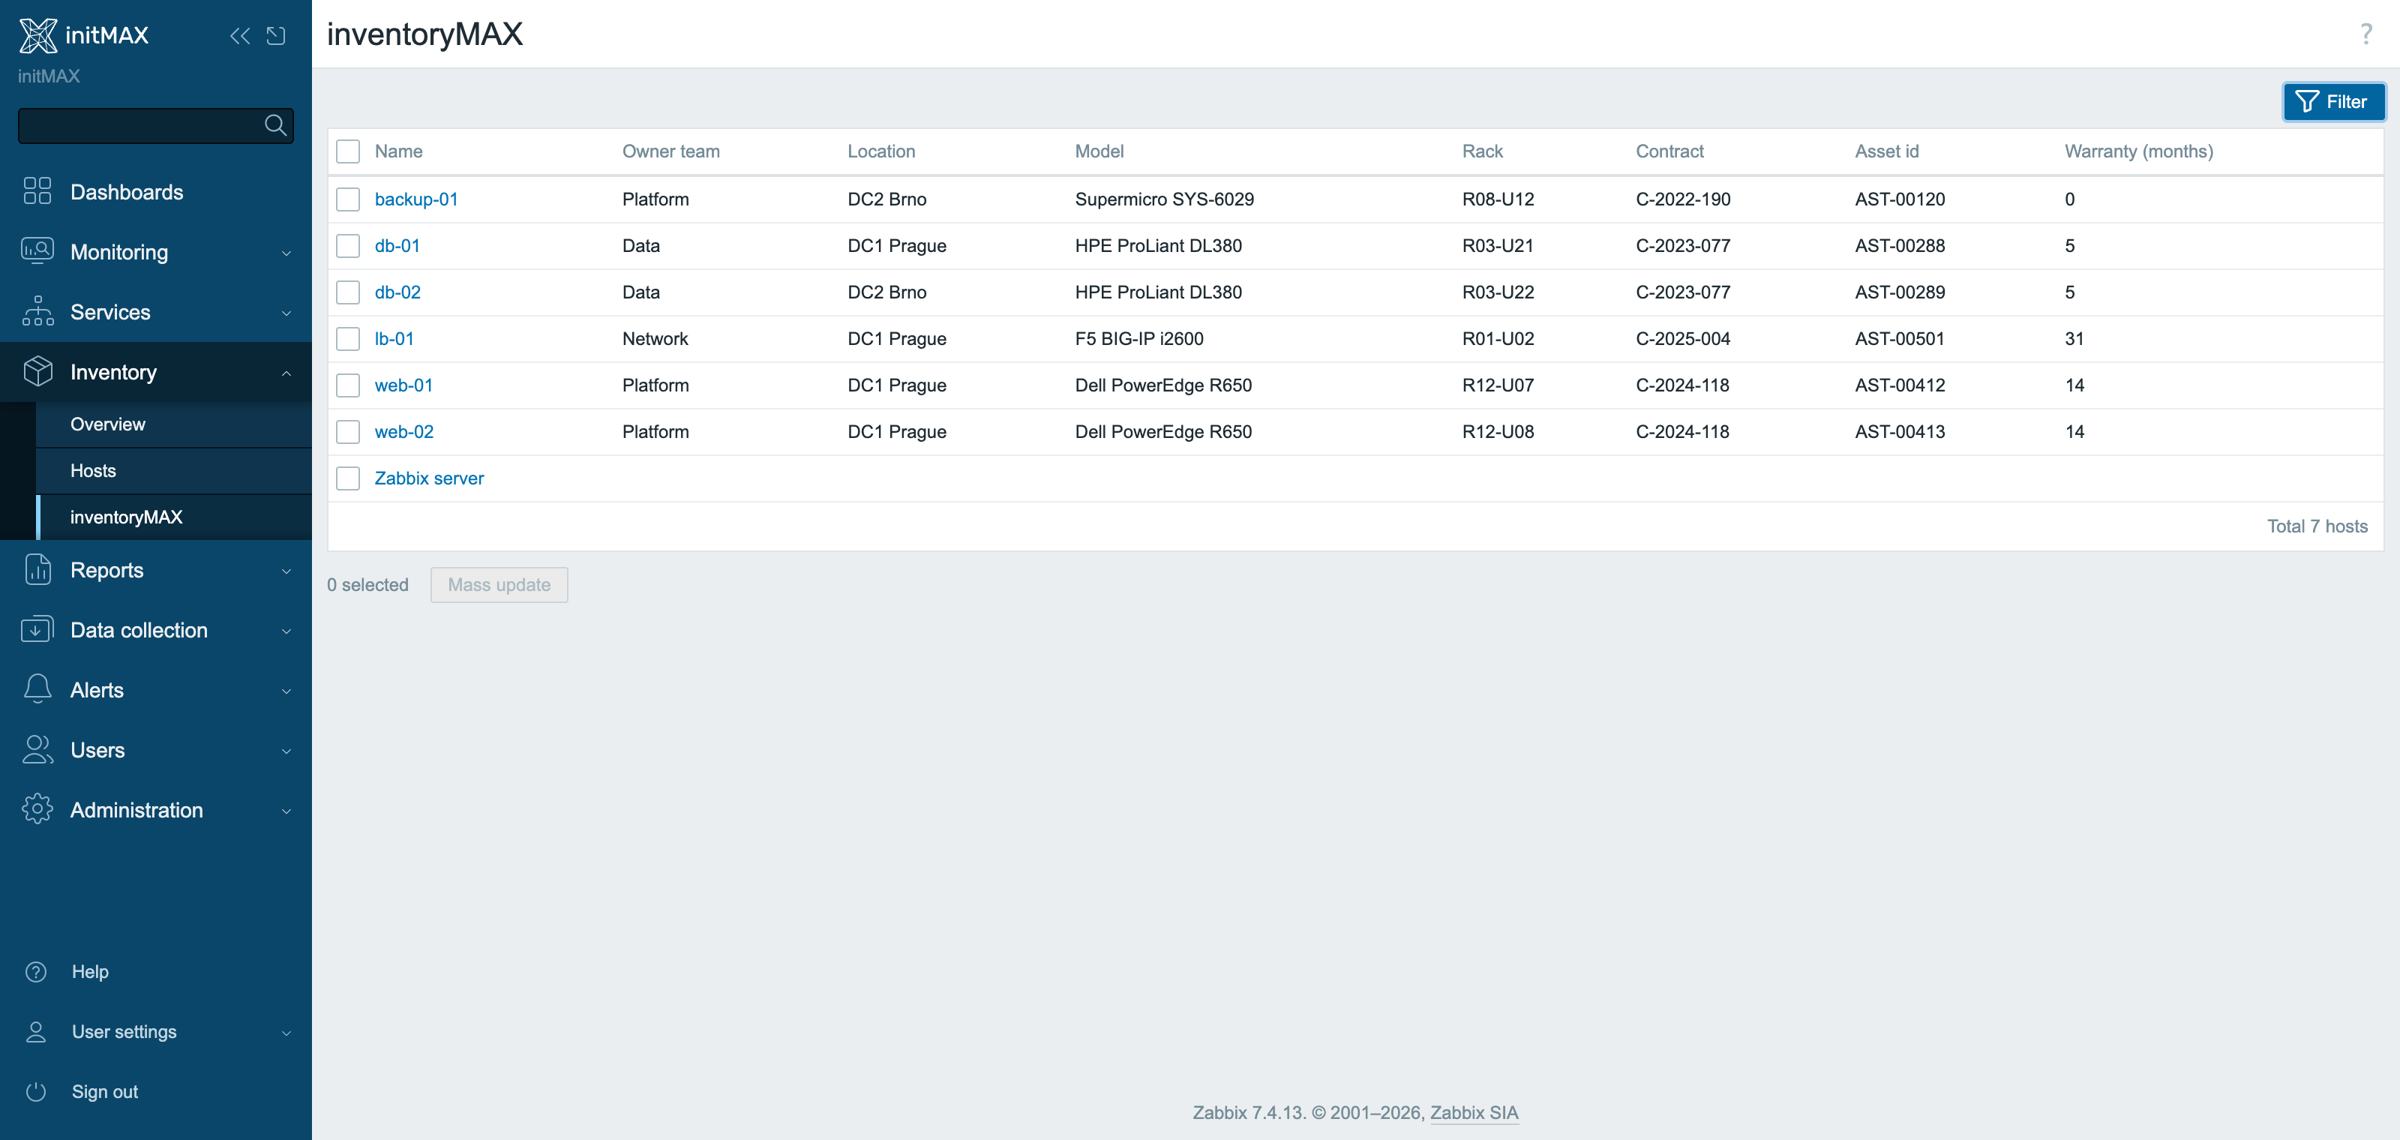
An overview of all inventoryMAX inventory fields can be found under Inventory → inventoryMAX.
Usage examples
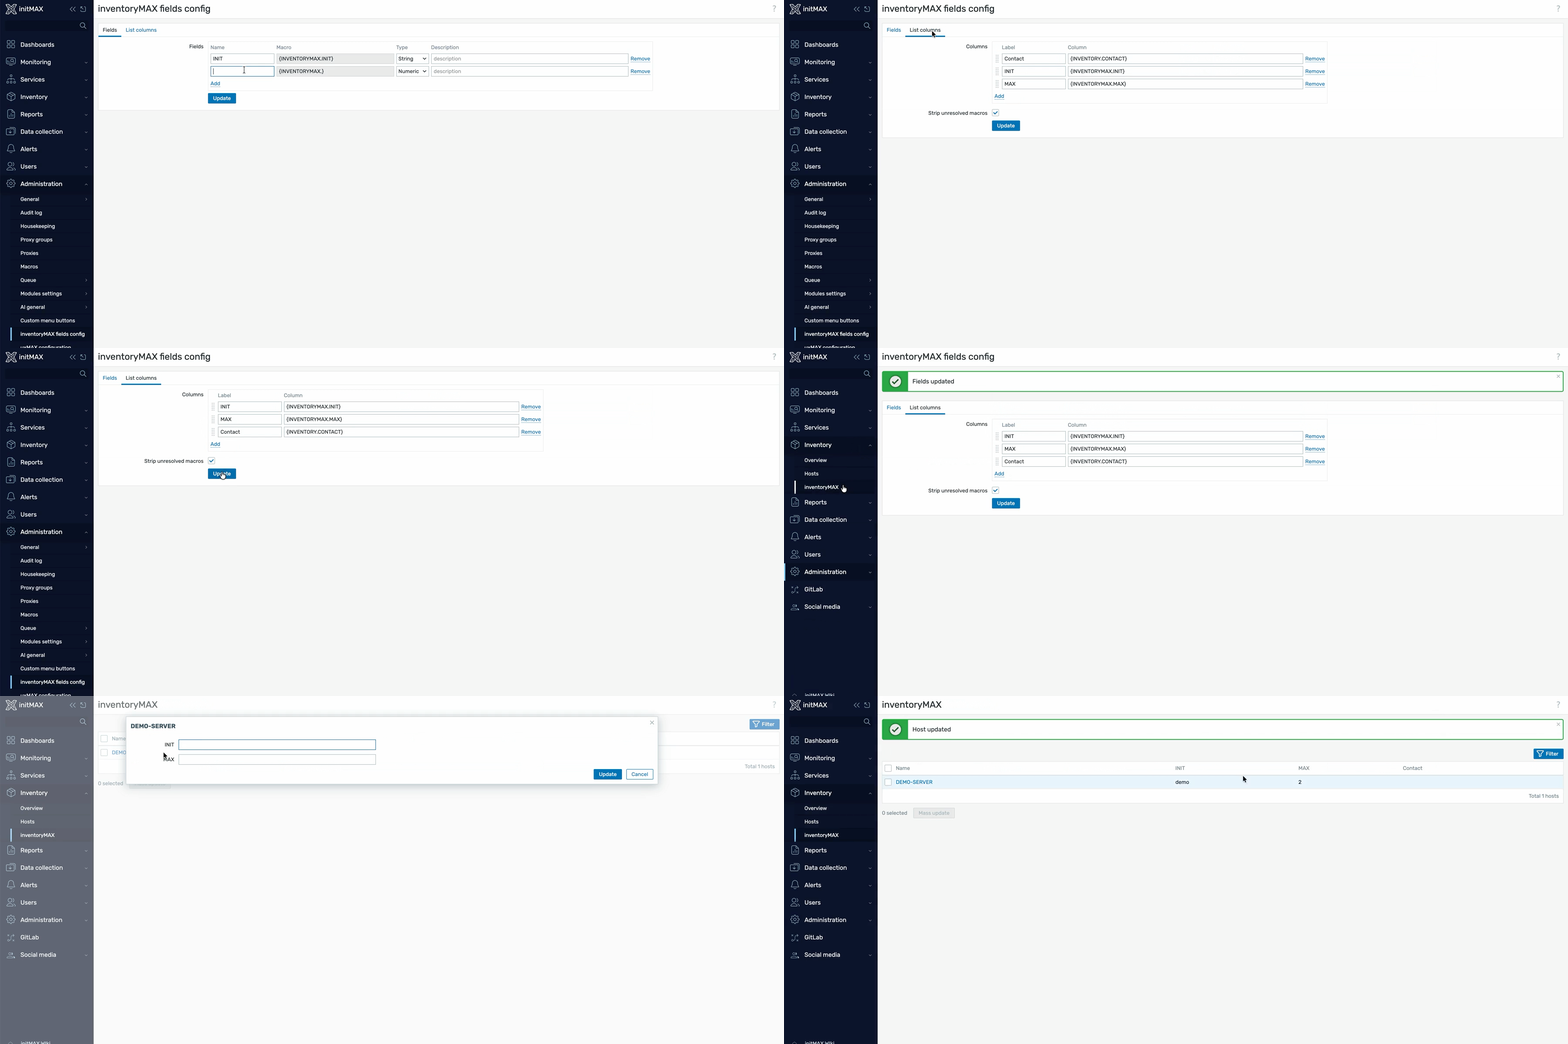
Configuration step:
The user creates two new custom fields, INIT and MAX, in the inventoryMAX fields config section in Administration menu. The corresponding macros {INVENTORYMAX.INIT} and {INVENTORYMAX.MAX} are automatically generated for these fields. In the List Columns tab, the user adjusts the column order, placing INIT and MAX before the built-in Zabbix field {INVENTORY.CONTACT}.
The custom inventory fields are defined as follows: INIT is a string field, MAX is a numerical field, and the description is optional (left blank in this case).
Entering and accessing the data:
In inventoryMAX (see the Inventory section of Zabbix frontend ), the user enters values for the previously created custom fields for the host DEMO-SERVER ( for INT field string demo and for MAX field integer 2 ). If needed, these entries can be accesed and filtered using the standard Zabbix filtering options available in this section.
Configuration
inventoryMAX fields config
In this section ( Administration section of Zabbix frontend → inventoryMAX fields config ) it’s possible to configure Name, macro, type and description of the custom inventory fields.

| Name | The name of custom field. |
| Macro | Is being created on the fly to prevent mistakes. Starts with {INVENTORYMAX.*) after the name of the field is entered the macro is finalized following naming convention standards for Zabbix macros. |
| Type | Numeric/String |
| Description | Message to identify the purpose of the macro. Later is visible in the inventoryMAX view ( located in Inventory section of the Zabbix frontend ) as a help popup represented by “?” symbol. |
In the list columns tab it is possible to configure the visibility of the created custom fields in the inventoryMAX view ( located in Inventory section of the Zabbix frontend ).

| Label | The name of custom field. |
| Column | Manually put in the desired {INVENTORYMAX.*} macro. Example: {INVENTORYMAX.NAME} |
| Strip unresolved macros | When enabled it hides unresolved macros. |
inventoryMAX
In this section ( Inventory section of Zabbix frontend → inventoryMAX ) it’s possible to enter values for predefined custom inventory fields ( example for INT and MAX fields ). To set the values click on the desired host in this section. Mass update function can be utilized.

Installation
inventoryMAX is distributed as a standard deb/rpm package from our repository repo.initmax.com. The package detects your frontend version and deploys the matching module tree into it. It supports Zabbix 6.0 – 8.0 and is HA ready – multi-frontend / HA setups work out of the box, just install the package on every frontend node.
Connect to the server running the Zabbix frontend over SSH (do this on every frontend node) and pick your distribution. Would you rather have a plain archive? Every release also ships as a ZIP – you can download from the customer portal once you sign in – handy for offline or manual installs.
RHEL / Rocky / Alma

PRO edition
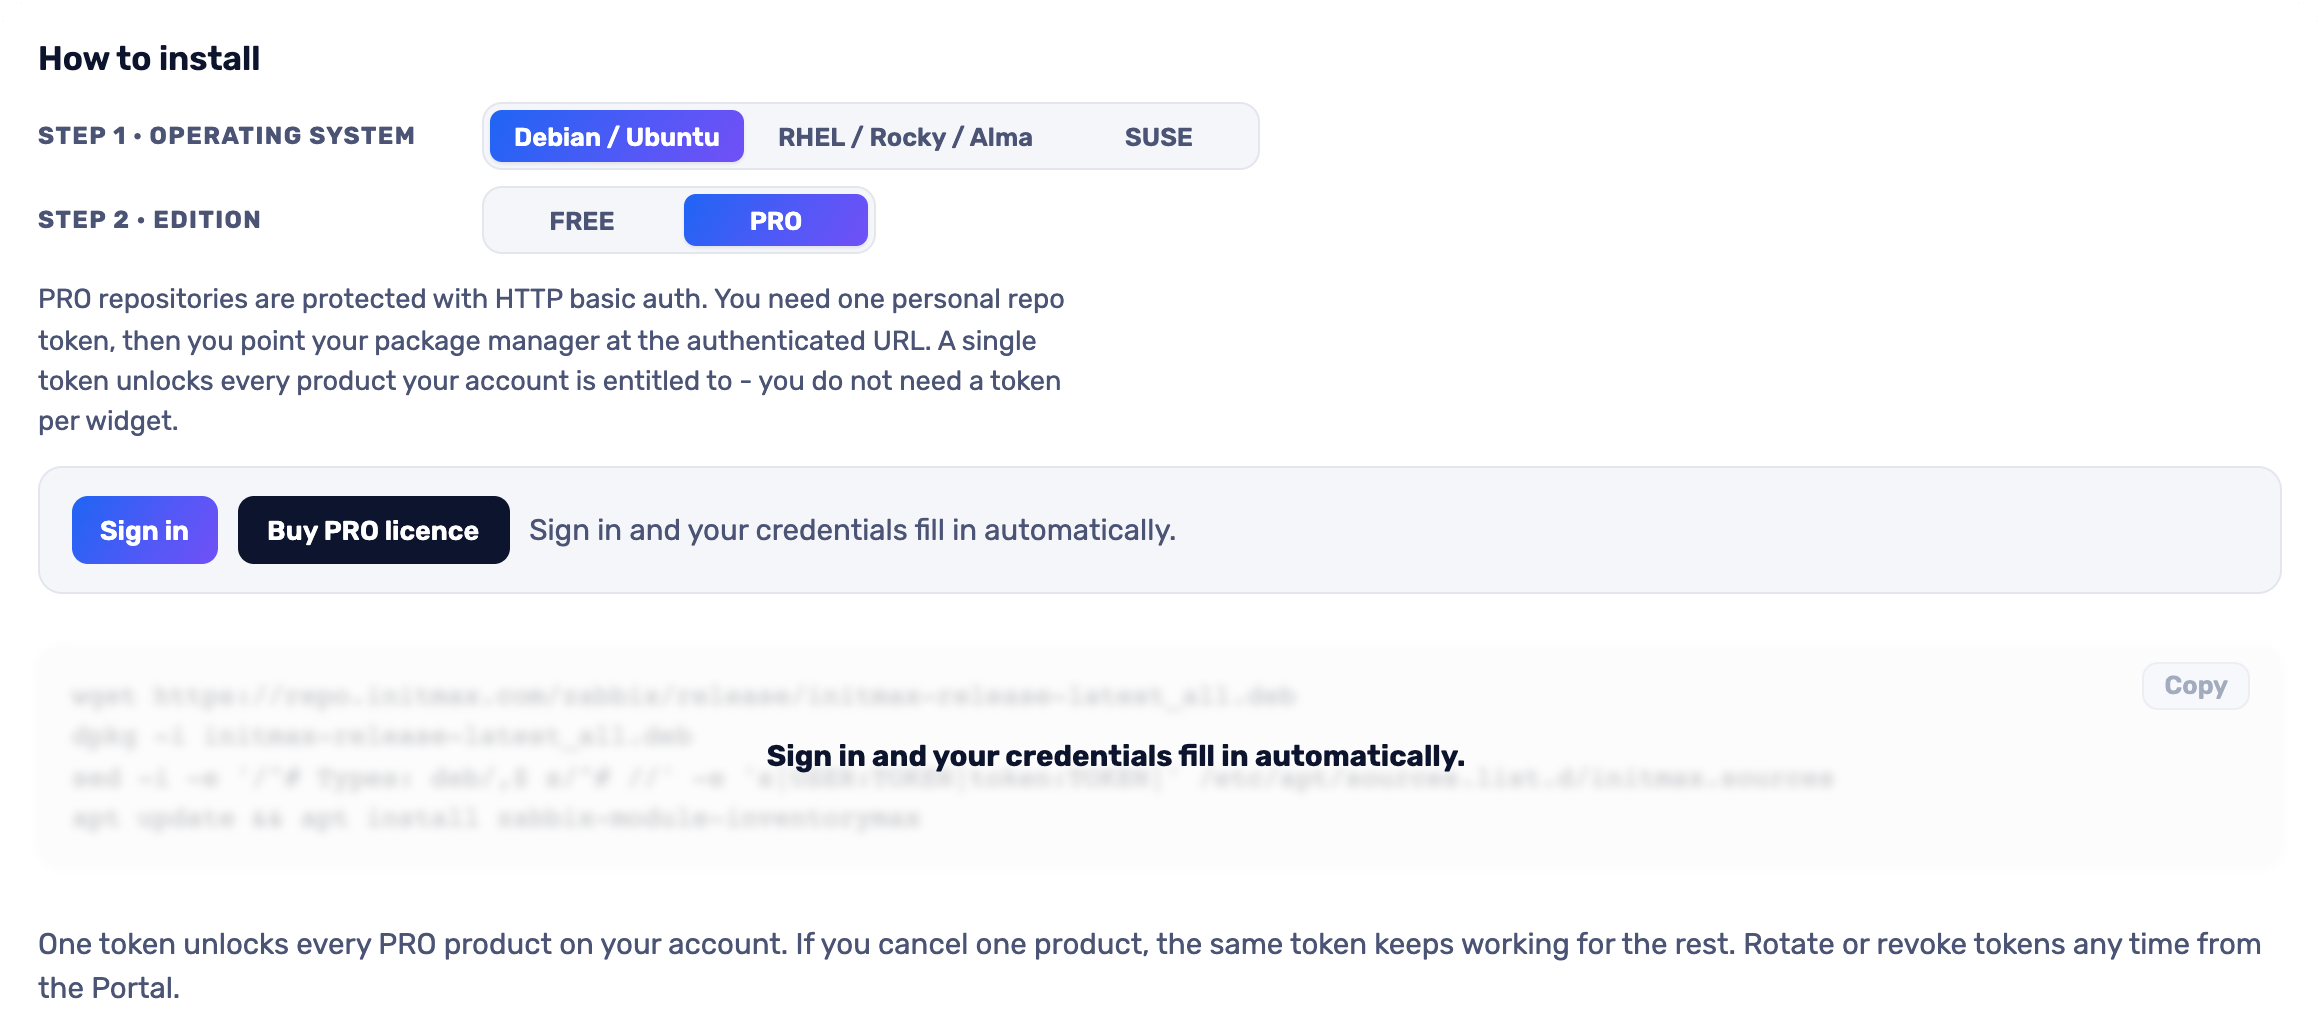
The most convenient route is the portal: pick your operating system and the PRO edition, sign in and your token is filled into the command for you – just copy it. Open the installer in the portal (the image below is clickable too).
SUSE
PRO edition
The most convenient route is the portal: pick your operating system and the PRO edition, sign in and your token is filled into the command for you – just copy it. Open the installer in the portal (the image below is clickable too).
Debian / Ubuntu
PRO edition
The most convenient route is the portal: pick your operating system and the PRO edition, sign in and your token is filled into the command for you – just copy it. Open the installer in the portal (the image below is clickable too).
Verification
The module is enabled automatically during the package installation. You can verify it in the Zabbix frontend menu: Administration → General → Modules
If the module was already running on that frontend (from an earlier package or from a manual installation), the package keeps its state – a module you disabled on purpose stays disabled – and the old manual copy is cleaned up as well, so the module never shows up twice in the module list. Updates then arrive through your package manager (apt / dnf / zypper) like any other system package.
Where to get it?
If you’re interested in this widget, you can find it in our product catalog. There you’ll learn more about the available versions and how to get the product.