In this tutorial, we will show you how to install and configure the latest Zabbix version 7.0 with a PostgreSQL 16 database on Rocky Linux 9 in five minutes!
Before we start
For the purposes of this example, we will first switch SELinux to Permissive mode.
setenforce 0PostgreSQL installation
In the first step, install the PostgreSQL repositories and disable the default PostgreSQL repositories.
dnf install -y https://download.postgresql.org/pub/repos/yum/reporpms/EL-9-x86_64/pgdg-redhat-repo-latest.noarch.rpm
dnf -qy module disable postgresql
Next, install PostgreSQL – in this case it will be the currently supported version 16.
dnf install -y postgresql16-serverInitialize the database and set it to start automatically.
/usr/pgsql-16/bin/postgresql-16-setup initdb
systemctl enable postgresql-16 --now
Installation of Zabbix server and its components
The database is now installed, and we can proceed to install the Zabbix server and all of its components.
First, exclude any Zabbix-related installation packages from the EPEL repository. Assuming it’s installed.
This can be done by adding the following line to the end of the /etc/yum.repos.d/epel.repo file:
[epel]
...
excludepkgs=zabbix*
Add the Zabbix repositories and clear the installation cache.
rpm -Uvh https://repo.zabbix.com/zabbix/7.0/rocky/9/x86_64/zabbix-release-latest.el9.noarch.rpm
dnf clean all
Now install all necessary Zabbix components.
In this case, we will use Zabbix Agent 2 as the primary monitoring agent, which we recommend you to use, as it brings much more needed functionality.
dnf install zabbix-server-pgsql zabbix-web-pgsql zabbix-apache-conf zabbix-sql-scripts zabbix-agent2 zabbix-web-serviceDatabase initialization
First, create a database user for Zabbix, you will be prompted to enter the desired password.
cd /tmp
sudo -u postgres createuser --pwprompt zabbix
At this point you are able to import the default schema and data.
You will be asked to enter your password again. Use the password from the previous step.
sudo -u postgres createdb -O zabbix zabbix
zcat /usr/share/zabbix-sql-scripts/postgresql/server.sql.gz | sudo -u zabbix psql zabbix
Firewall configuration
Finally, enable the ports that are necessary for the Zabbix server to run.
firewall-cmd --permanent --add-service=http
firewall-cmd --permanent --add-port=10051/tcp
firewall-cmd --reload
TimescaleDB installation
Now let’s get down to installing TimescaleDB and start by adding its official repository.
tee /etc/yum.repos.d/timescale_timescaledb.repo <<EOL
[timescale_timescaledb]
name=timescale_timescaledb
baseurl=https://packagecloud.io/timescale/timescaledb/el/$(rpm -E %{rhel})/\$basearch
repo_gpgcheck=1
gpgcheck=0
enabled=1
gpgkey=https://packagecloud.io/timescale/timescaledb/gpgkey
sslverify=1
sslcacert=/etc/pki/tls/certs/ca-bundle.crt
metadata_expire=300
EOL
Install TimescaleDB.
dnf install timescaledb-2-postgresql-16 timescaledb-2-loader-postgresql-16We run the timescaledb-tune utility and pass it a higher maximum number of connections (--max-conns) as a parameter, which we set to 125 for these testing purposes.
This utility is used to adjust default PostgreSQL settings for performance and to set PostgreSQL parameters to work with TimescaleDB.
At the same time, this utility will help us select the current and valid PostgreSQL configuration file using the installation wizard and will also set up the automatic loading of TimescaleDB libraries.
Please respond “yes” (y) to all questions. Please note, the automatic tuner assumes that PostgreSQL is running on a separate server, so parameter adjustments may be necessary if applicable.
timescaledb-tune --pg-config /usr/pgsql-16/bin --max-conns=125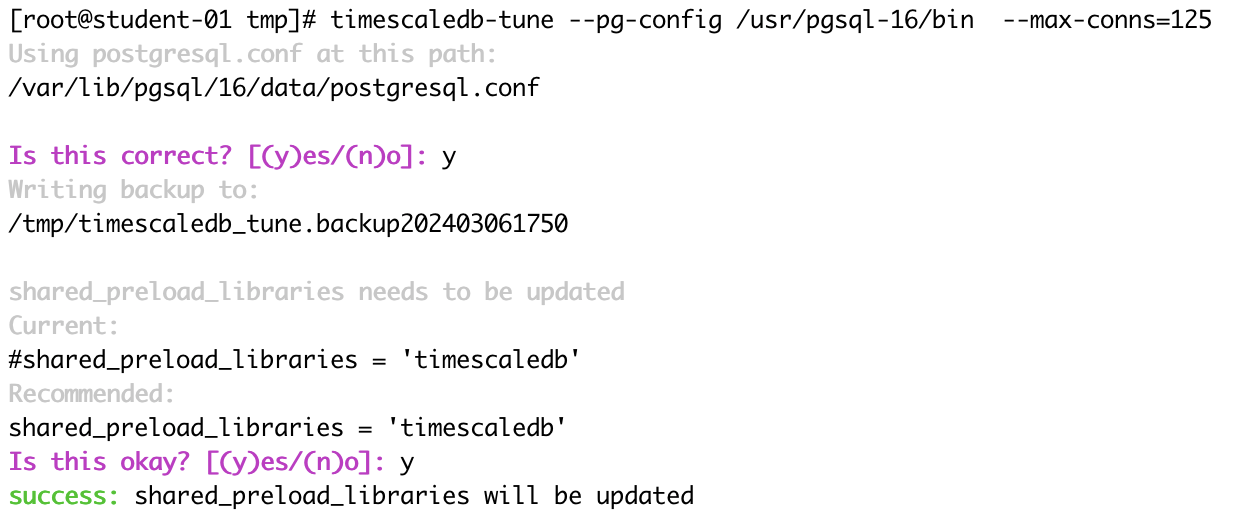
Subsequently, we restart the system service for PostgreSQL:
systemctl restart postgresql-16.serviceAll that remains is to create and activate TimescaleDB itself:
Attention, during development, the path has been changed from the original /usr/share/zabbix-sql-scripts/postgresql/timescaledb.sql to the new /usr/share/zabbix-sql-scripts/postgresql/timescaledb/schema.sql.
echo "CREATE EXTENSION IF NOT EXISTS timescaledb CASCADE;" | sudo -u postgres psql zabbix
cat /usr/share/zabbix-sql-scripts/postgresql/timescaledb/schema.sql | sudo -u zabbix psql zabbix
Configuration of Zabbix server
Let’s open the Zabbix server configuration file in the path:
nano /etc/zabbix/zabbix_server.confIn this configuration file modify the following parameters as you can see in the example below:
...
DBPassword=password
StartReportWriters=1
WebServiceURL=http://localhost:10053/report
...
In the next step, install the language packs for Czech and Slovak (optional).
dnf install glibc-langpack-cs.x86_64 glibc-langpack-sk.x86_64And finally, restart all related services and set them to start automatically on startup:
systemctl restart zabbix-server zabbix-web-service zabbix-agent2 httpd php-fpm
systemctl enable zabbix-server zabbix-web-service zabbix-agent2 httpd php-fpm
In order to verify that the Zabbix server has started properly, we can, among other things, check its log file:
less /var/log/zabbix/zabbix_server.logIn case you see a message in the log file that the TimescaleDB version is too new, then it is not a big problem. Zabbix cannot respond quickly enough to the latest versions of TimescaleDB to set it as supported in its code, but compatibility is guaranteed by Zabbix and verified by us.
If you want to fix this incompatibility message in the Zabbix log file, then just open the configuration file of the Zabbix server in the path /etc/zabbix/zabbix_server.conf and edit the following configuration parameter as can be seen in code block here:
AllowUnsupportedDBVersions=1Save the file with this setting and restart the Zabbix server system service.
systemctl restart zabbix-serverConfiguration of Zabbix frontend
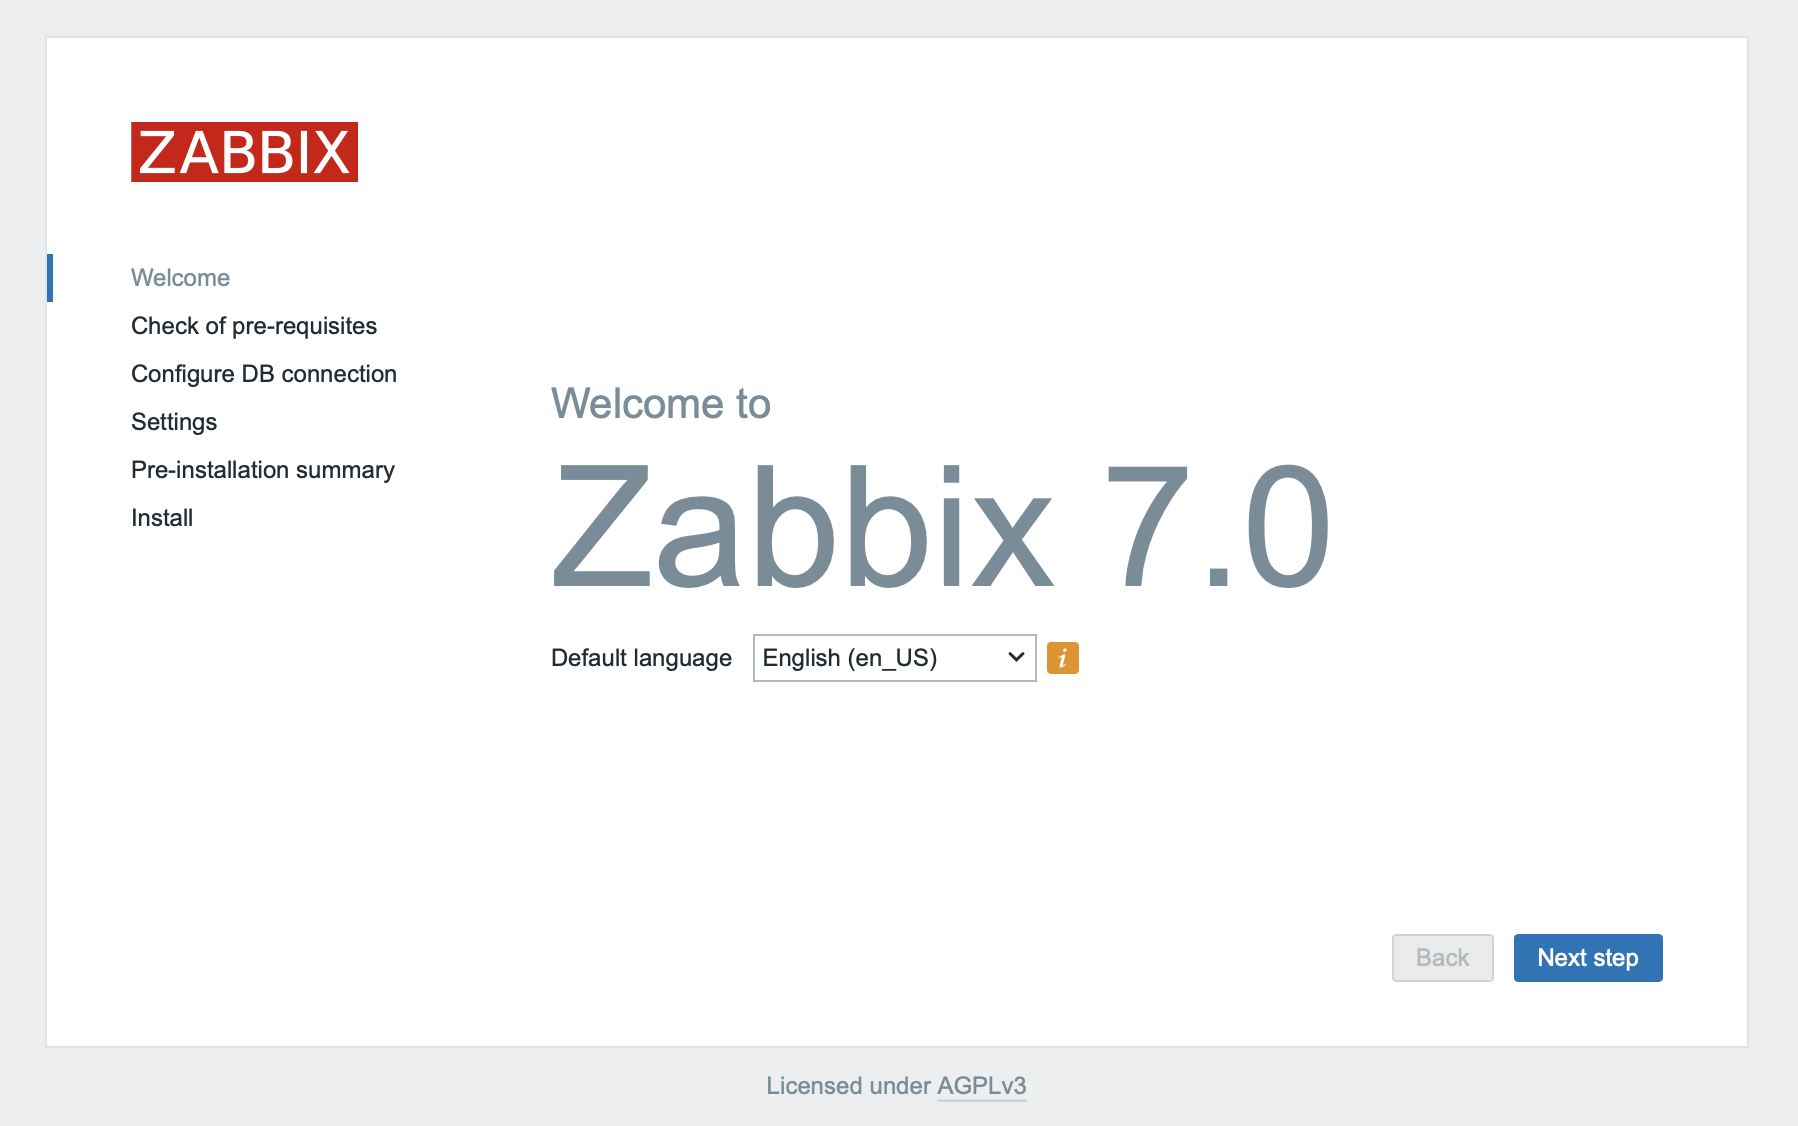
In the browser, open the target URL on which Zabbix is running. For example, http://192.168.0.50/zabbix, where the initial installation wizard will welcome you.
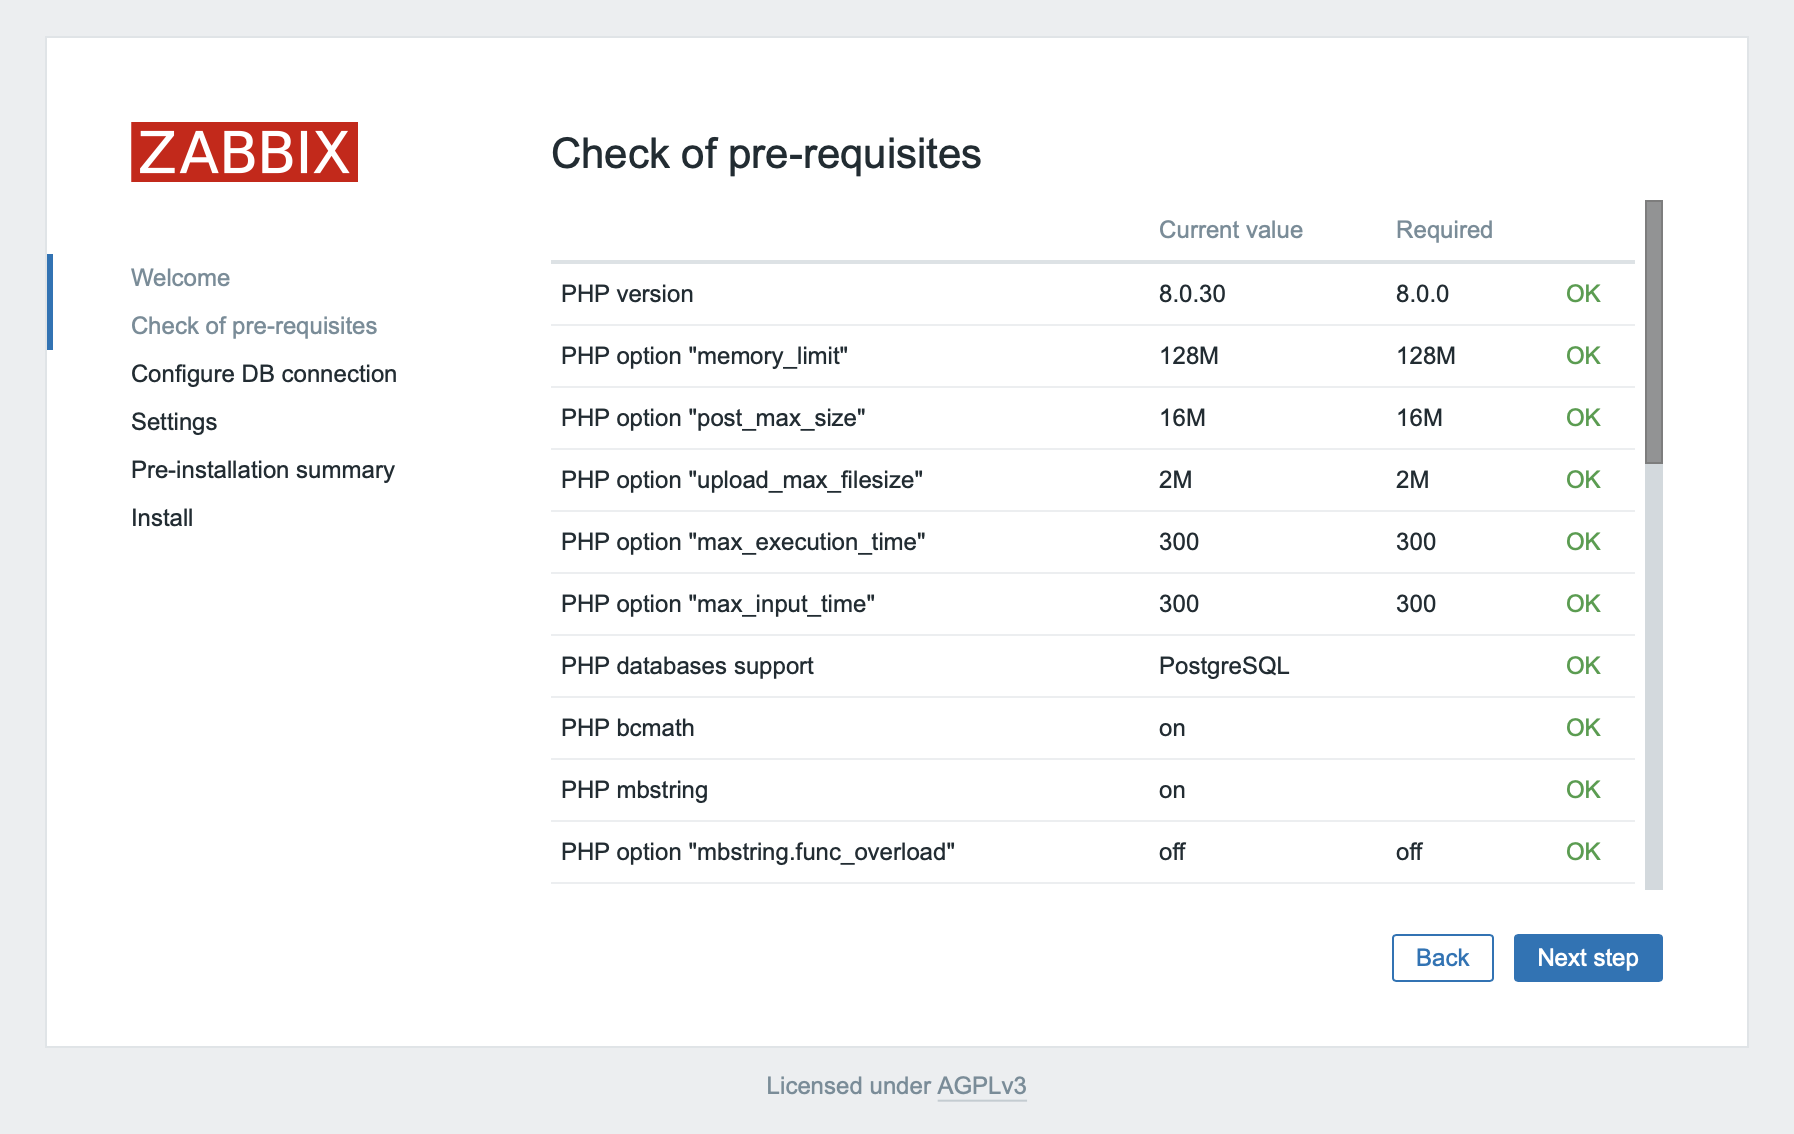
After selecting the default language, click the Next step button to move to the minimum requirements check page.
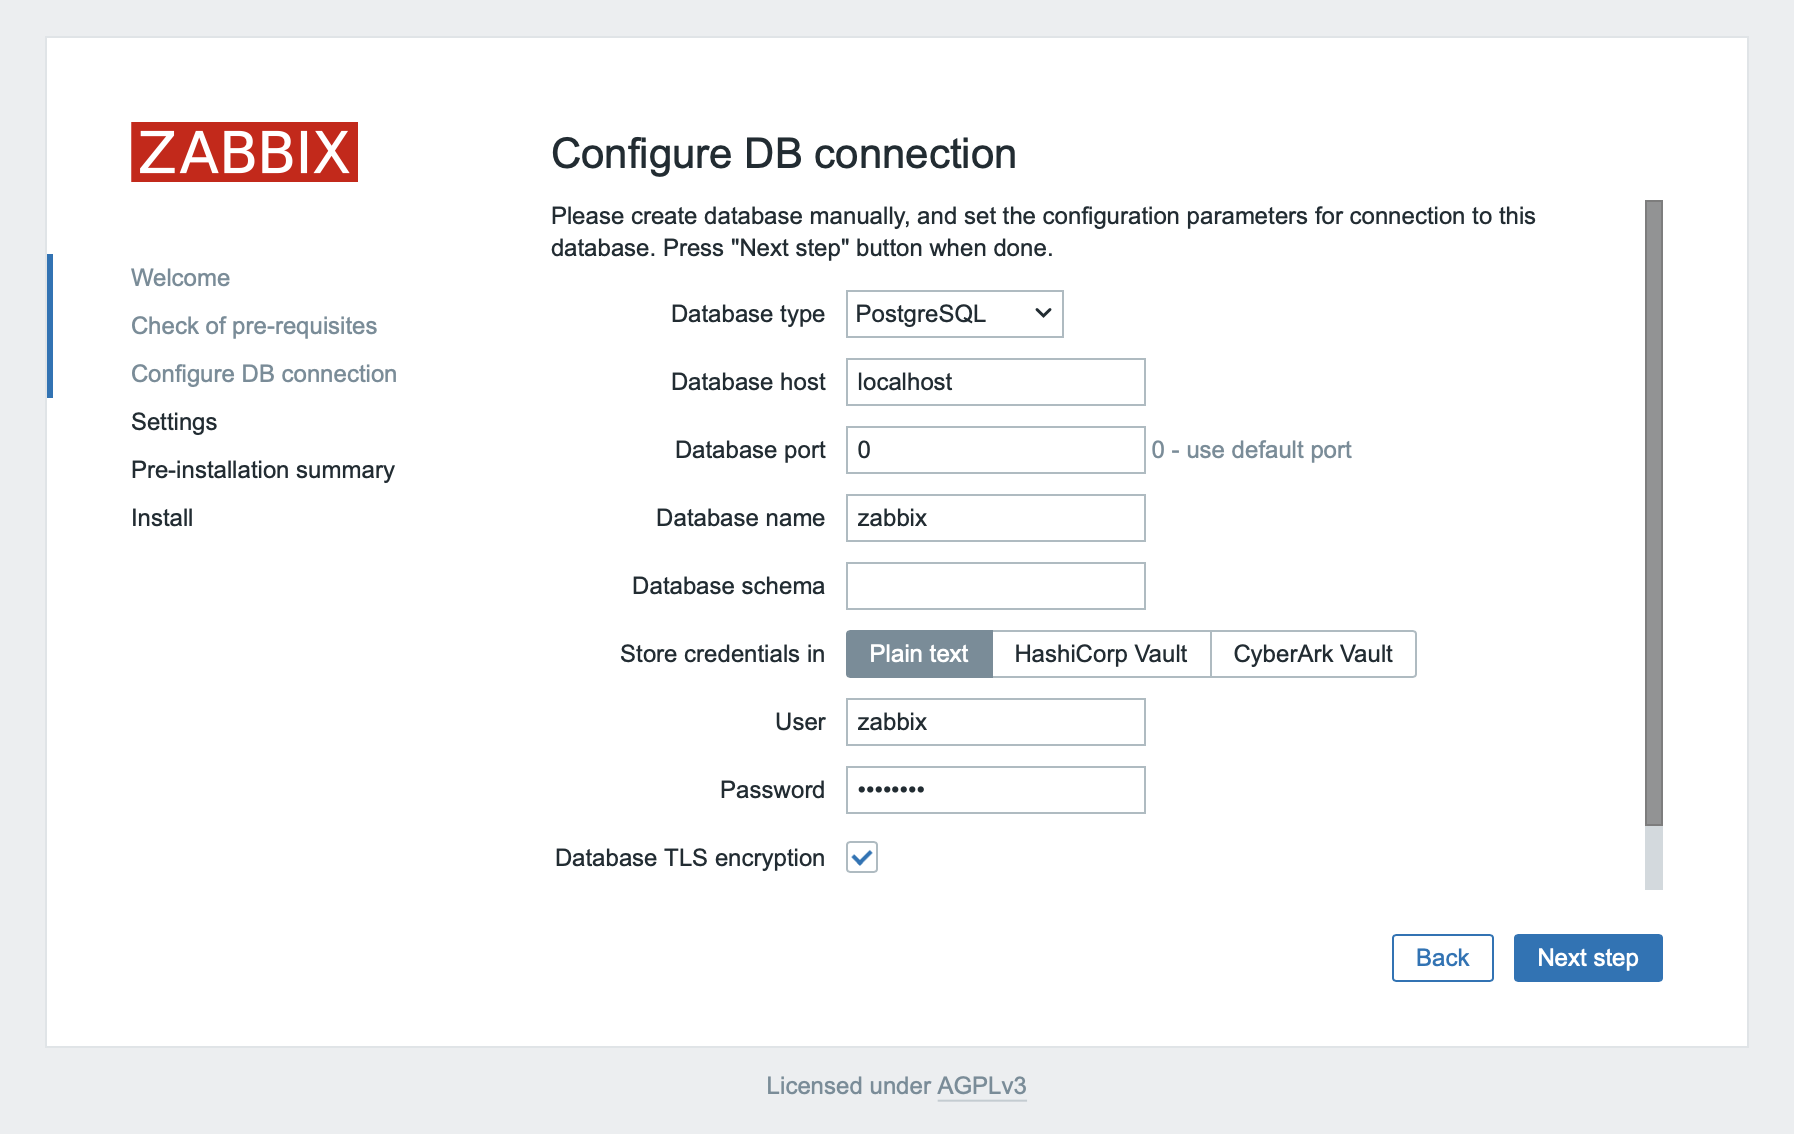
If the check is A’OK, you can click on Next step to move to the next page with database connection settings.
Here you only fill in the Password field for access to the database, nothing else needs to be changed.
After filling it in, click Next step again.
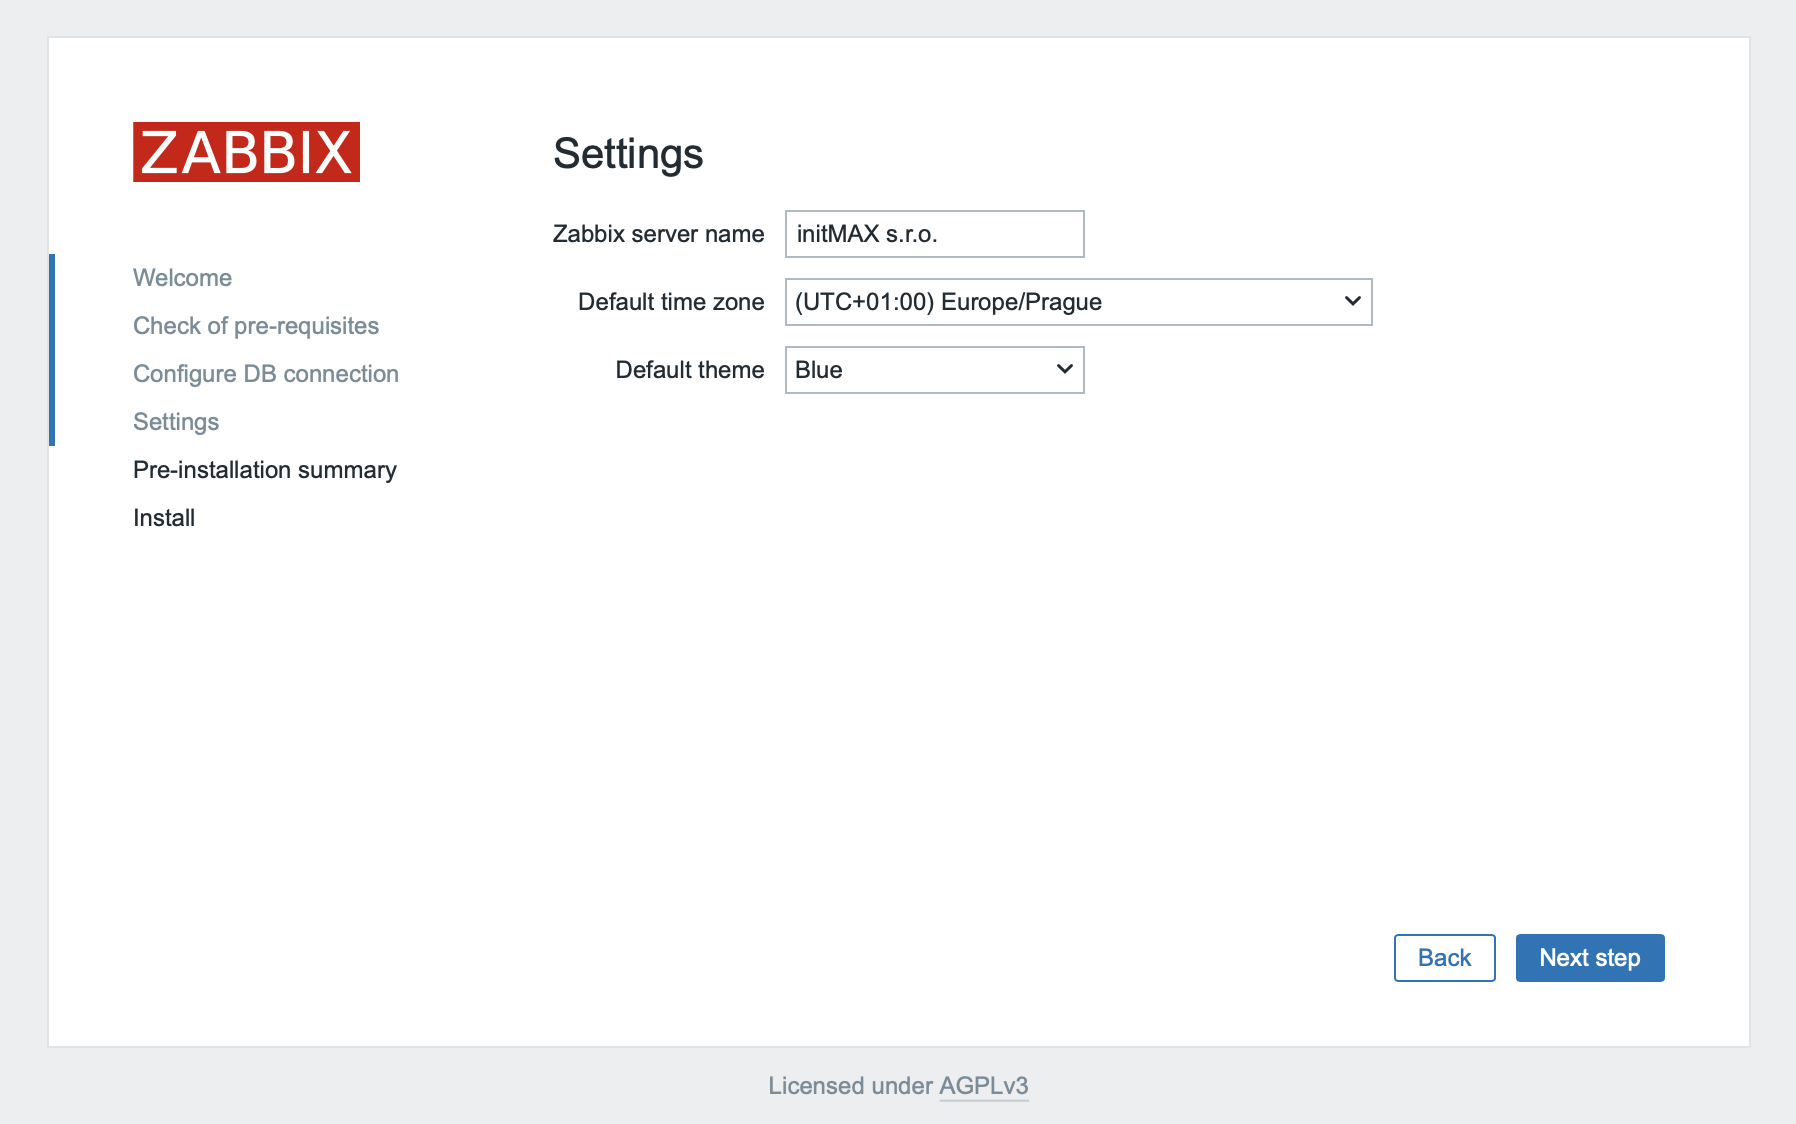
On this page, containing the basic settings, fill in the server name, time zone, and click Next step to continue to the configuration summary.
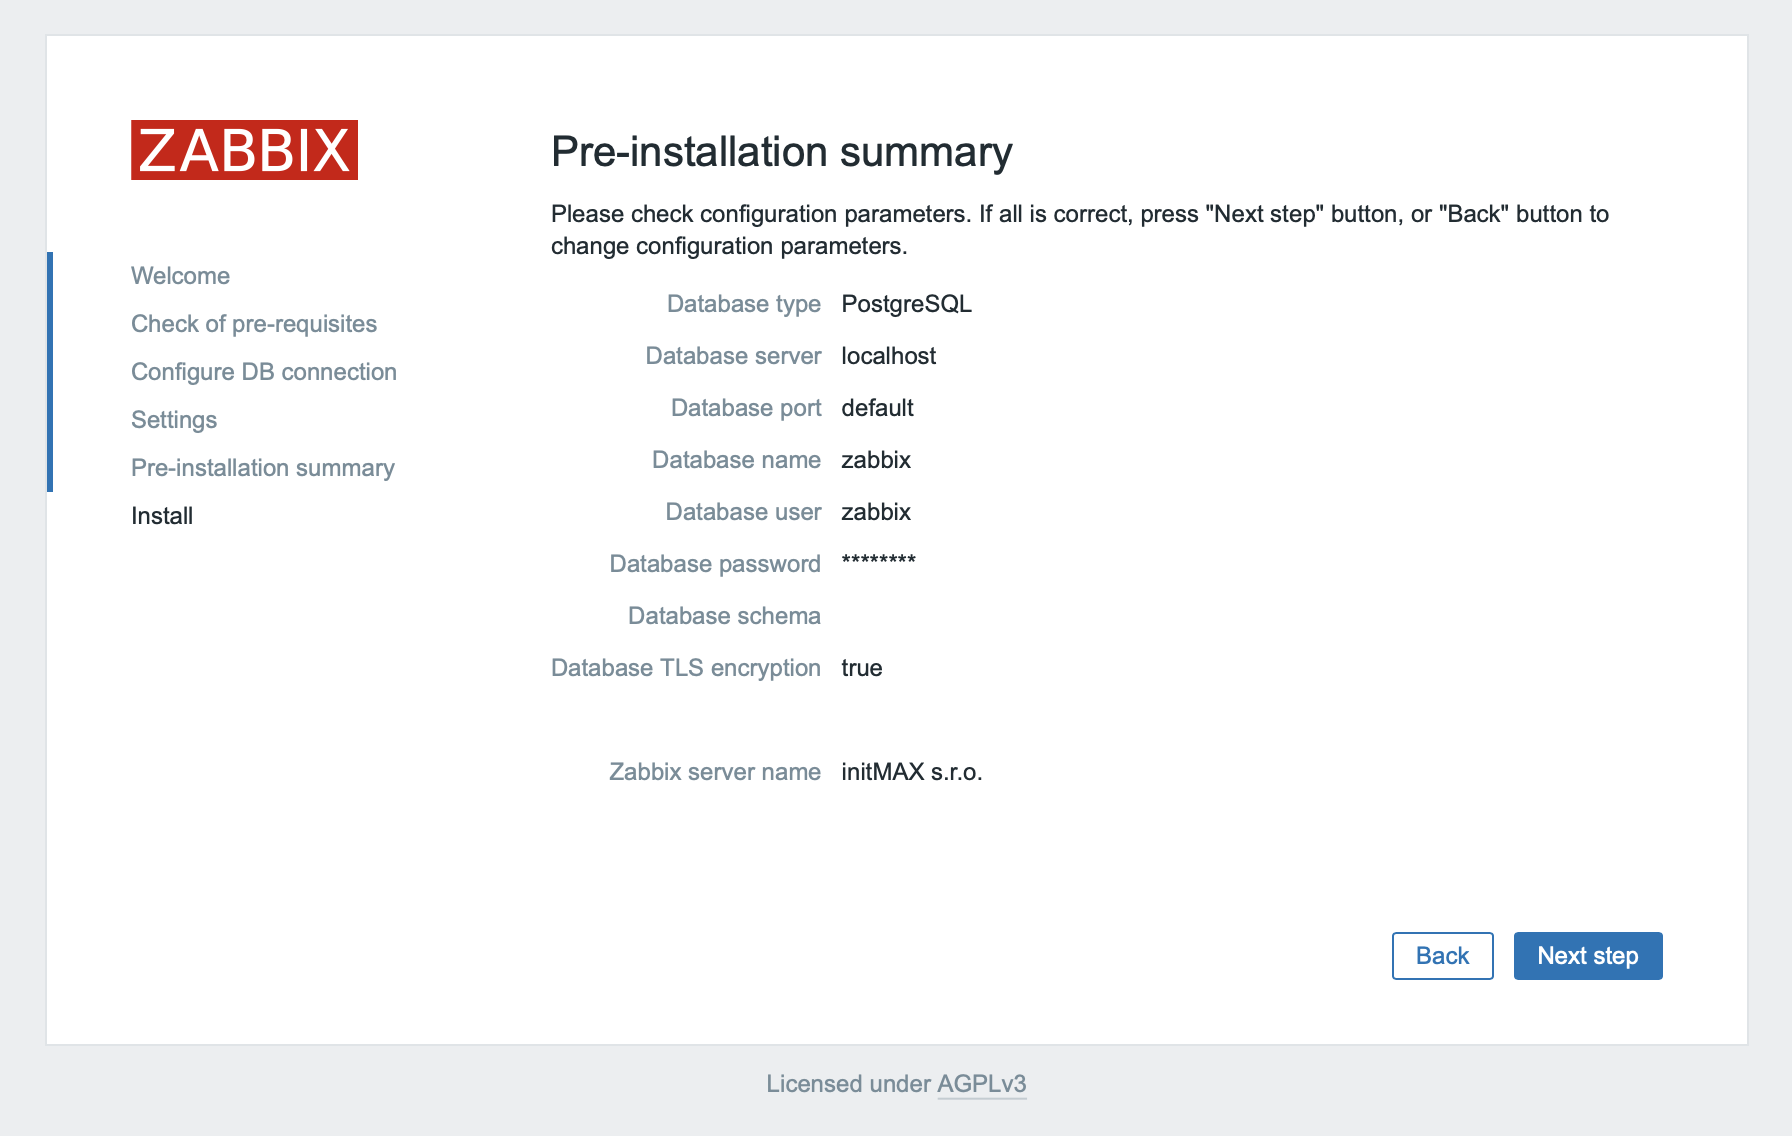
In this summary, check all the previously entered values and then click on Next step to complete the installation.
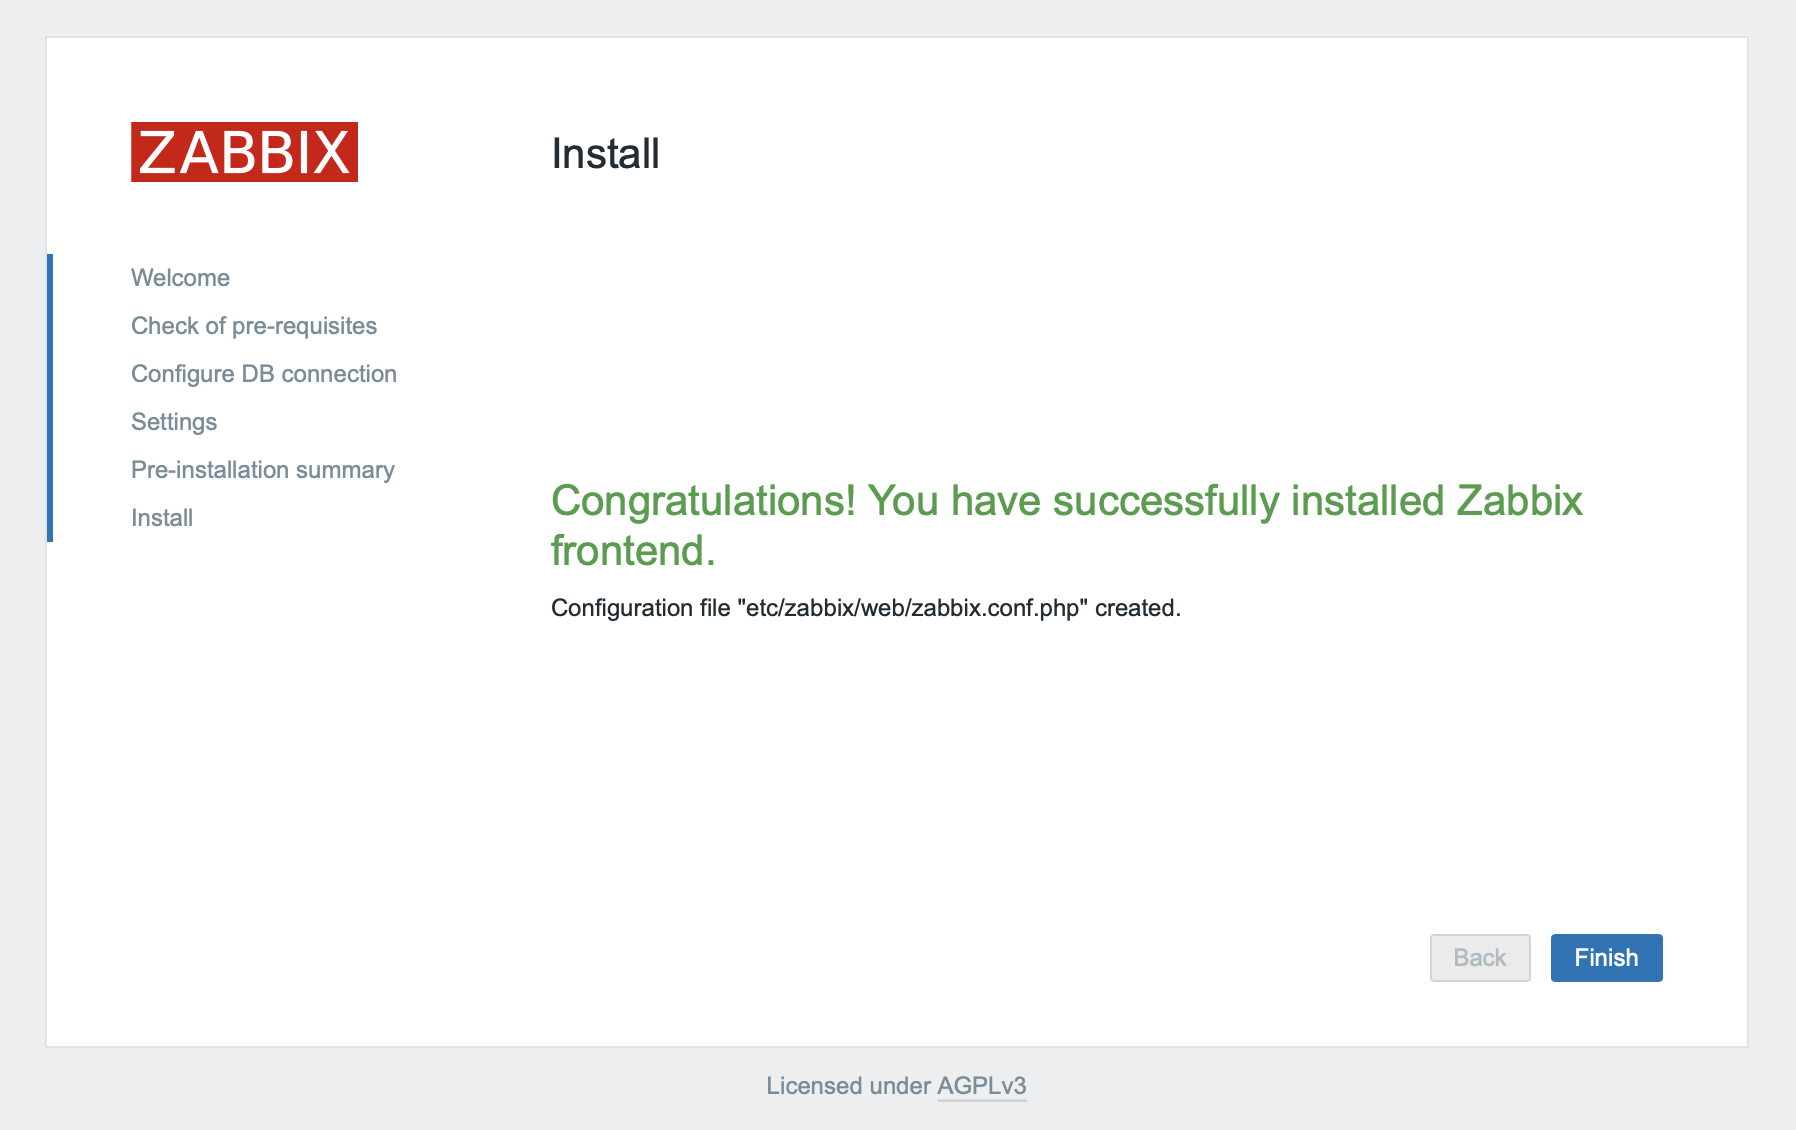
You’re all done now, and by clicking on the Finish button, it will take you to the login screen.
After successfully logging in using the previously entered data, you can start using the latest Zabbix version 7.0 (Admin/zabbix).
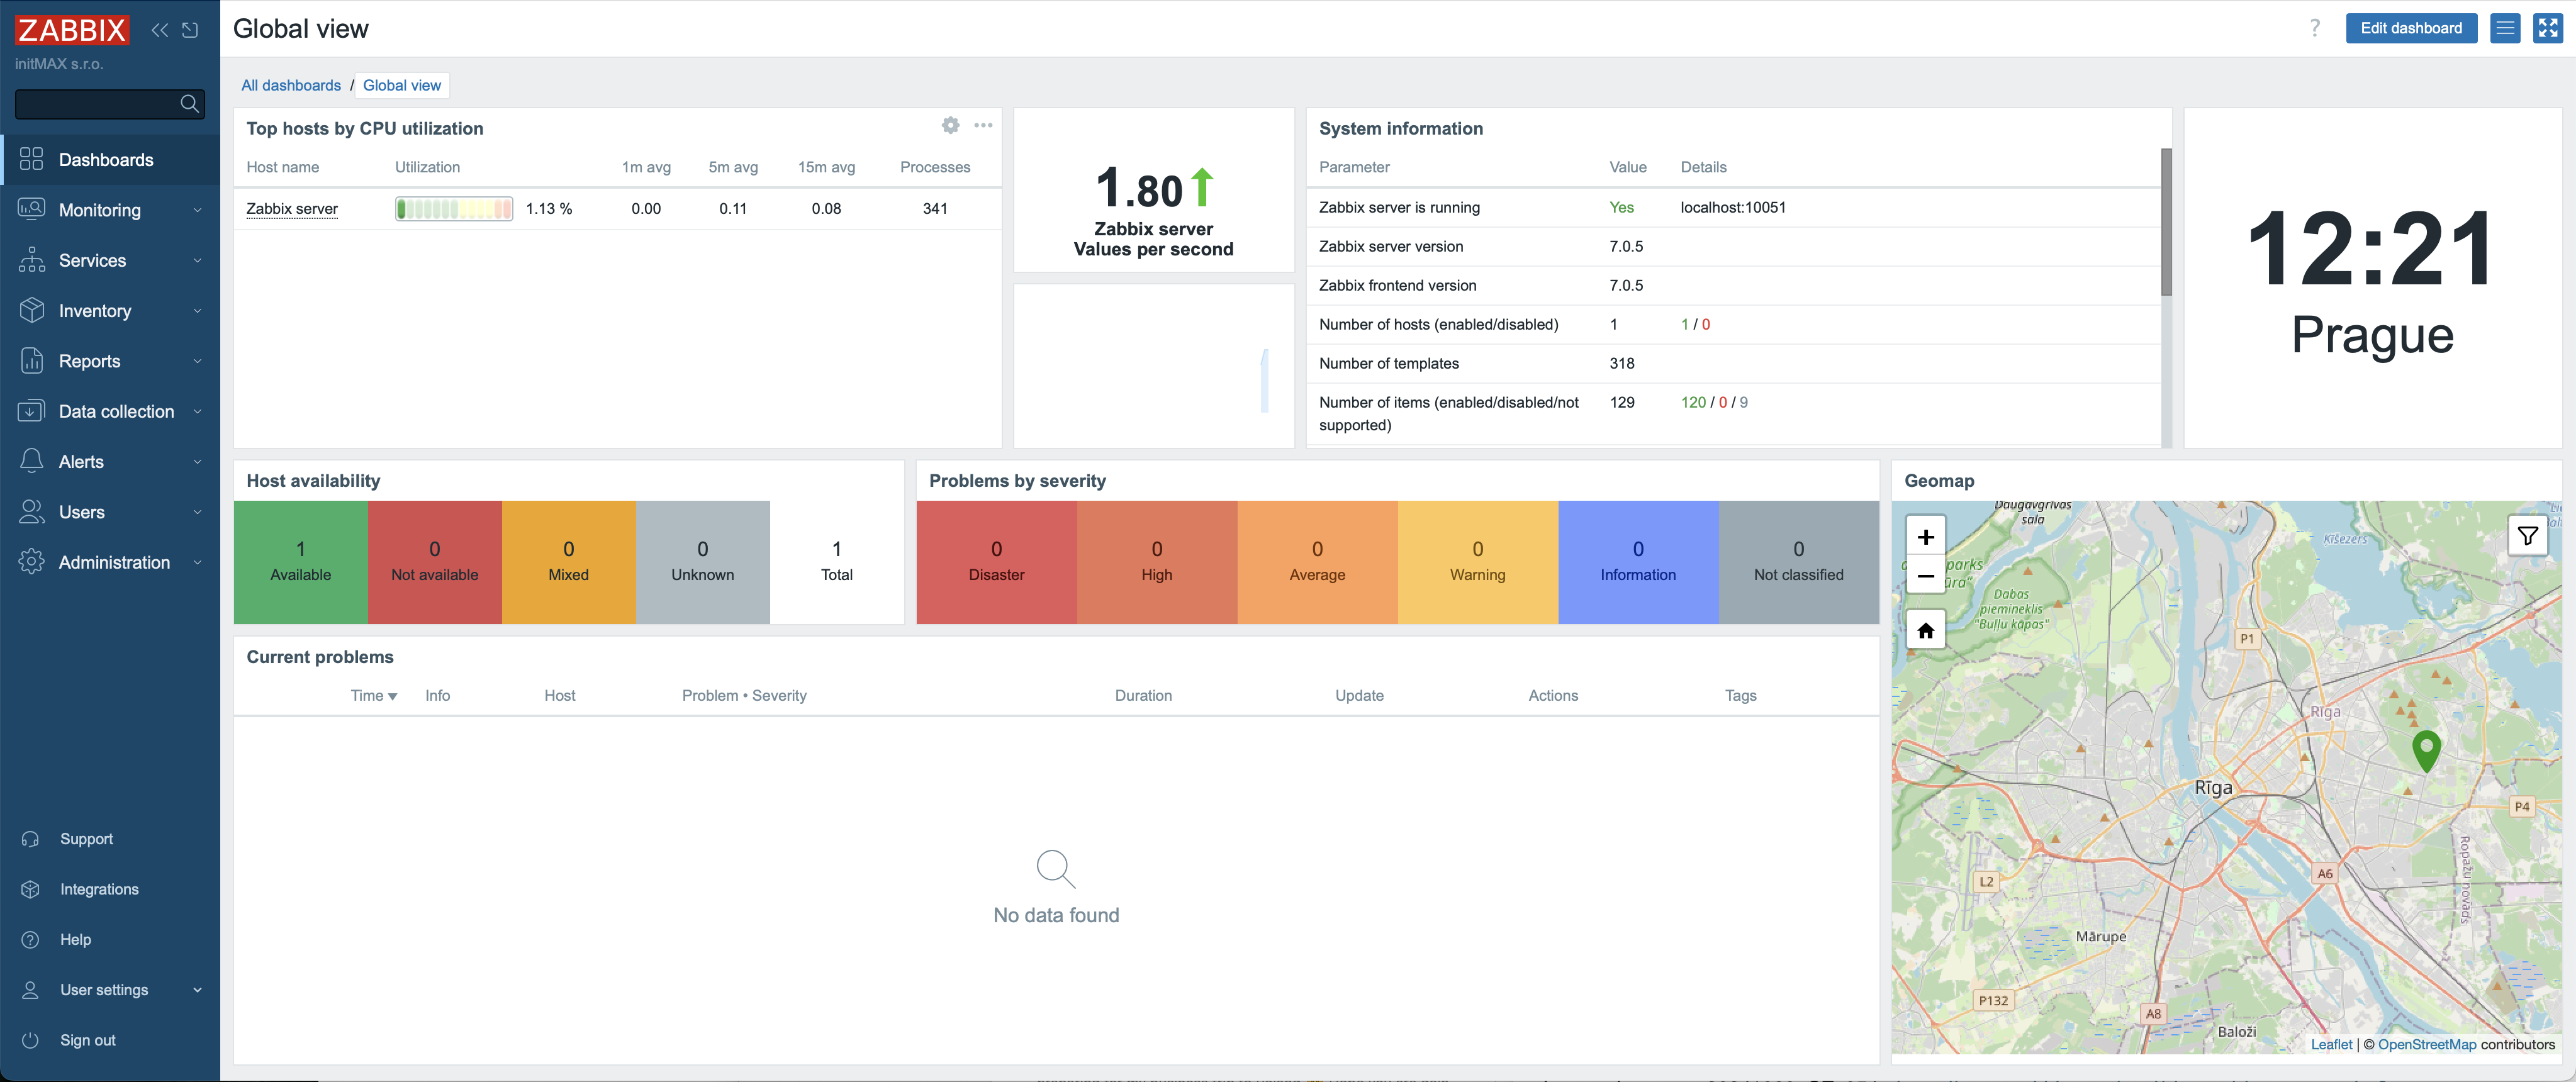
And this is what the initial dashboard of the new Zabbix 7.0 looks like:
Configuration of Zabbix reporting
In order for the reporting to be fully functional with all its improvements, you must first install Google Chrome.
With the following commands, you can download the installation package and install it as well:
wget https://dl.google.com/linux/direct/google-chrome-stable_current_x86_64.rpm
dnf localinstall google-chrome-stable_current_x86_64.rpm
In the next step, adjust the “Frontend URL” parameter in the Zabbix frontend to the currently valid value, this setting is located here in the menu:
Administration -> General -> OtherYou can see an example of this configuration in the image below.
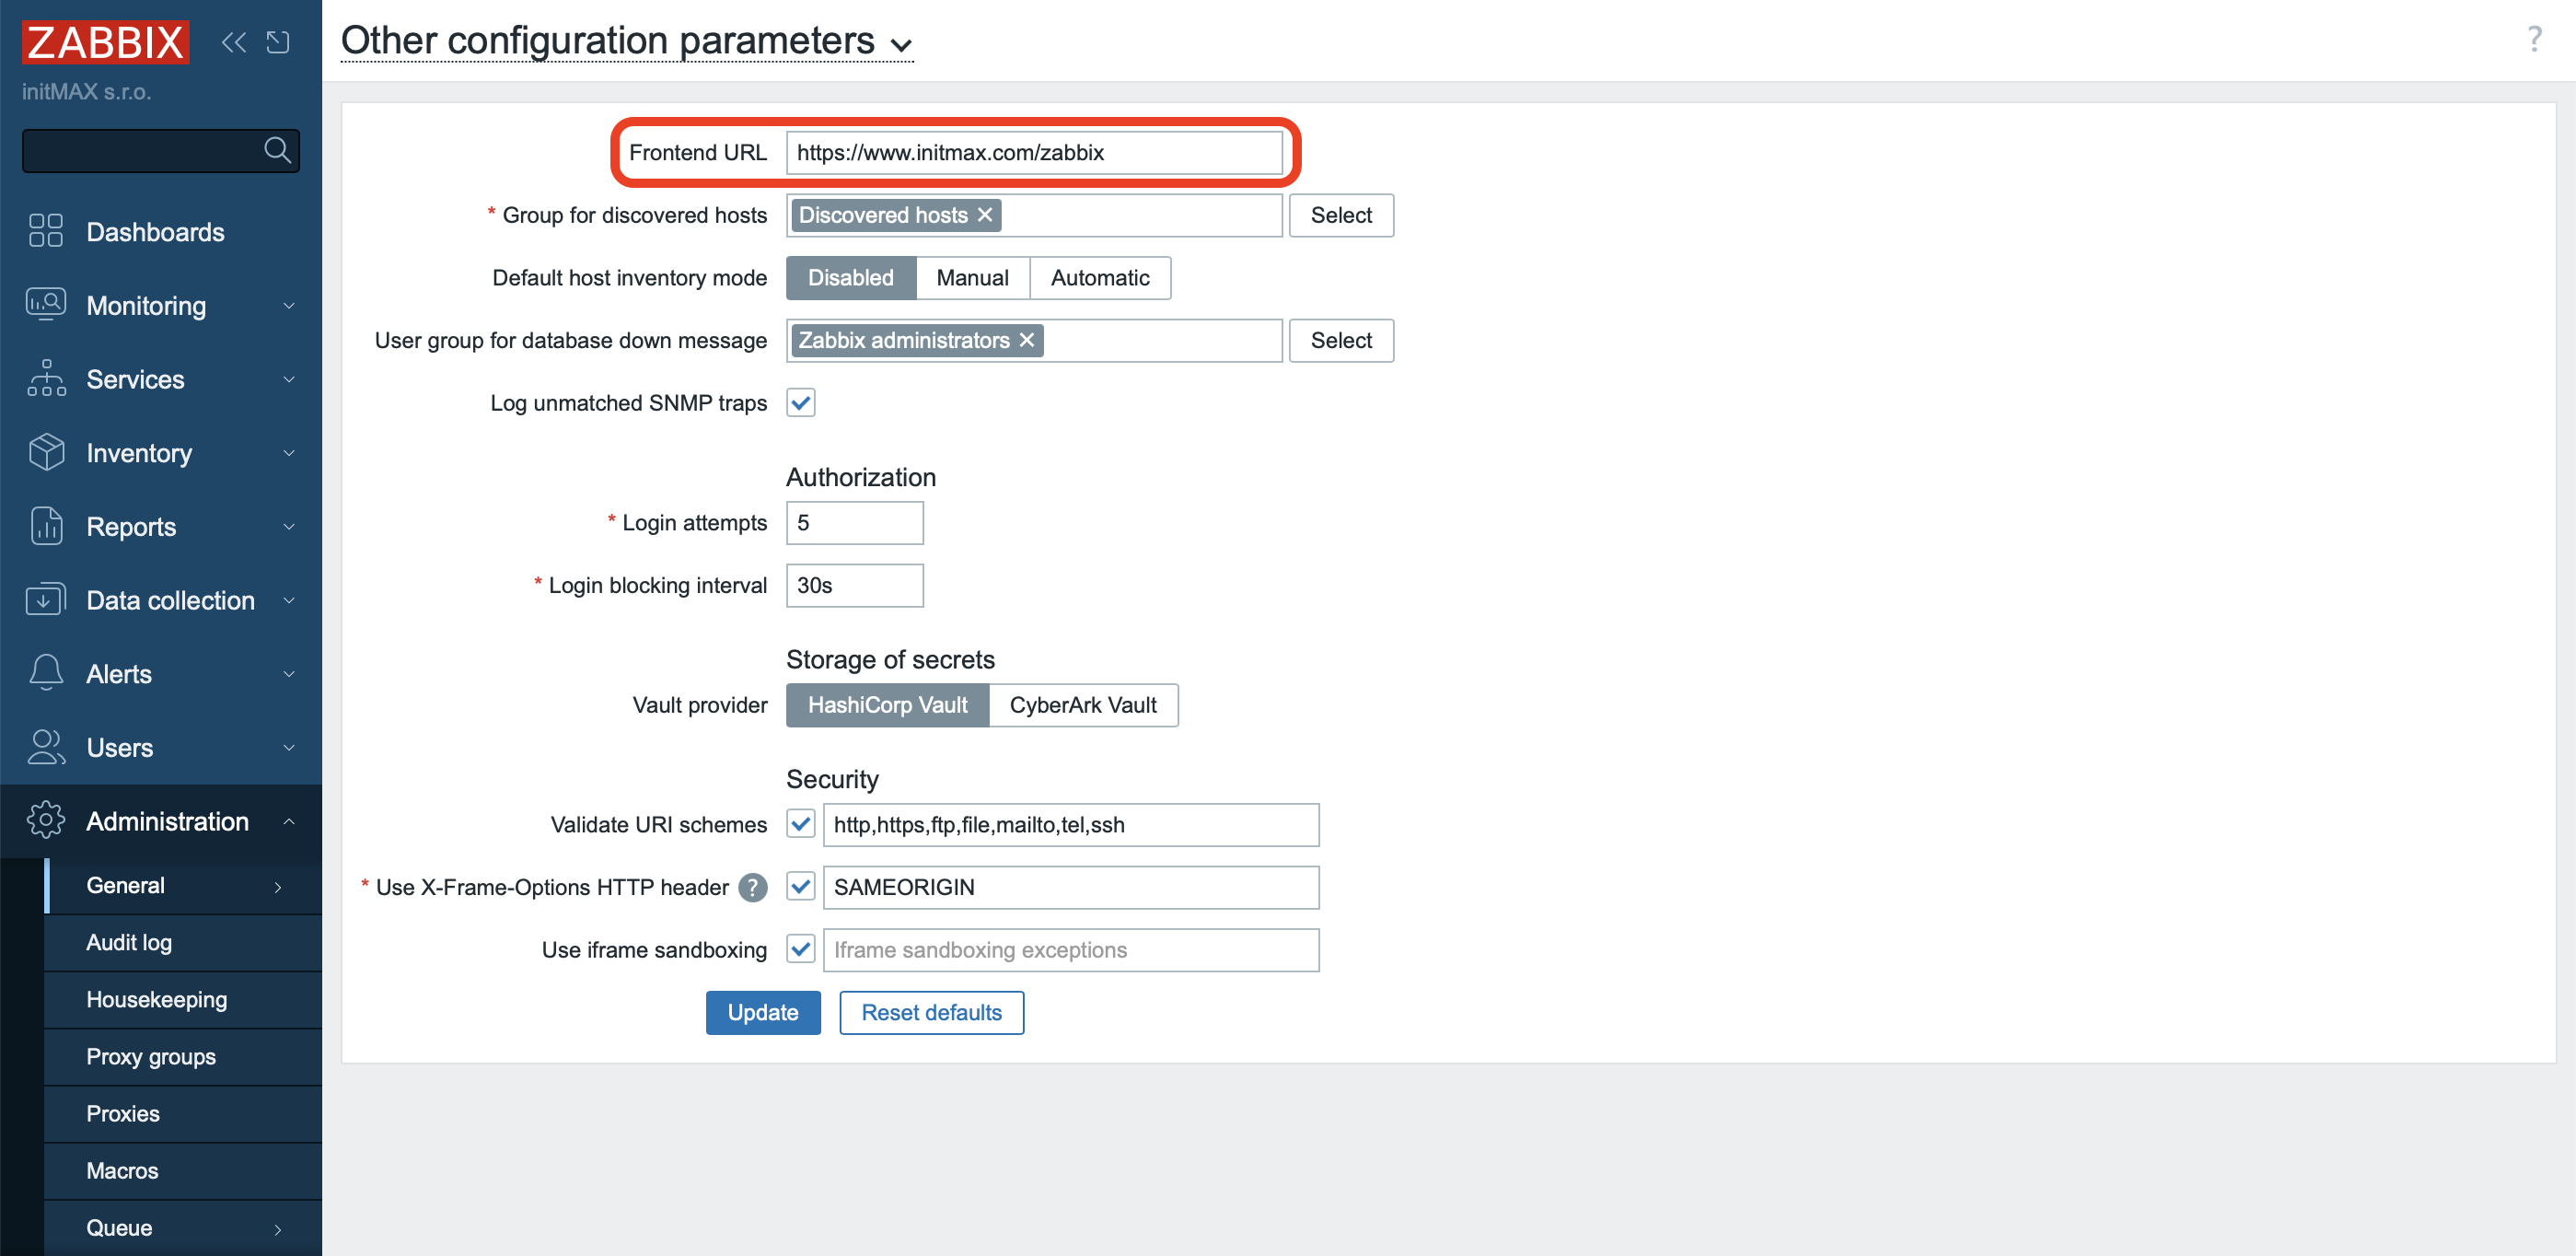
Finishing Steps
- Verify that the Zabbix server and database server are running correctly and have the correct version.
- Also, check if the following error appears during the server or proxy startup: ‘…the user limit of 1024 file descriptors is insufficient. The maximum number of concurrent checks per worker has been reduced…’. You can find the instructions for resolving this issue on our wiki.
Support for the New Item Browser
All necessary steps can be found in a separate guide on our wiki.
Custom Rebranding
All necessary steps can be found in a separate guide on our wiki.
Give us a Like, share us, or follow us 😍
So you don’t miss anything: