
Description
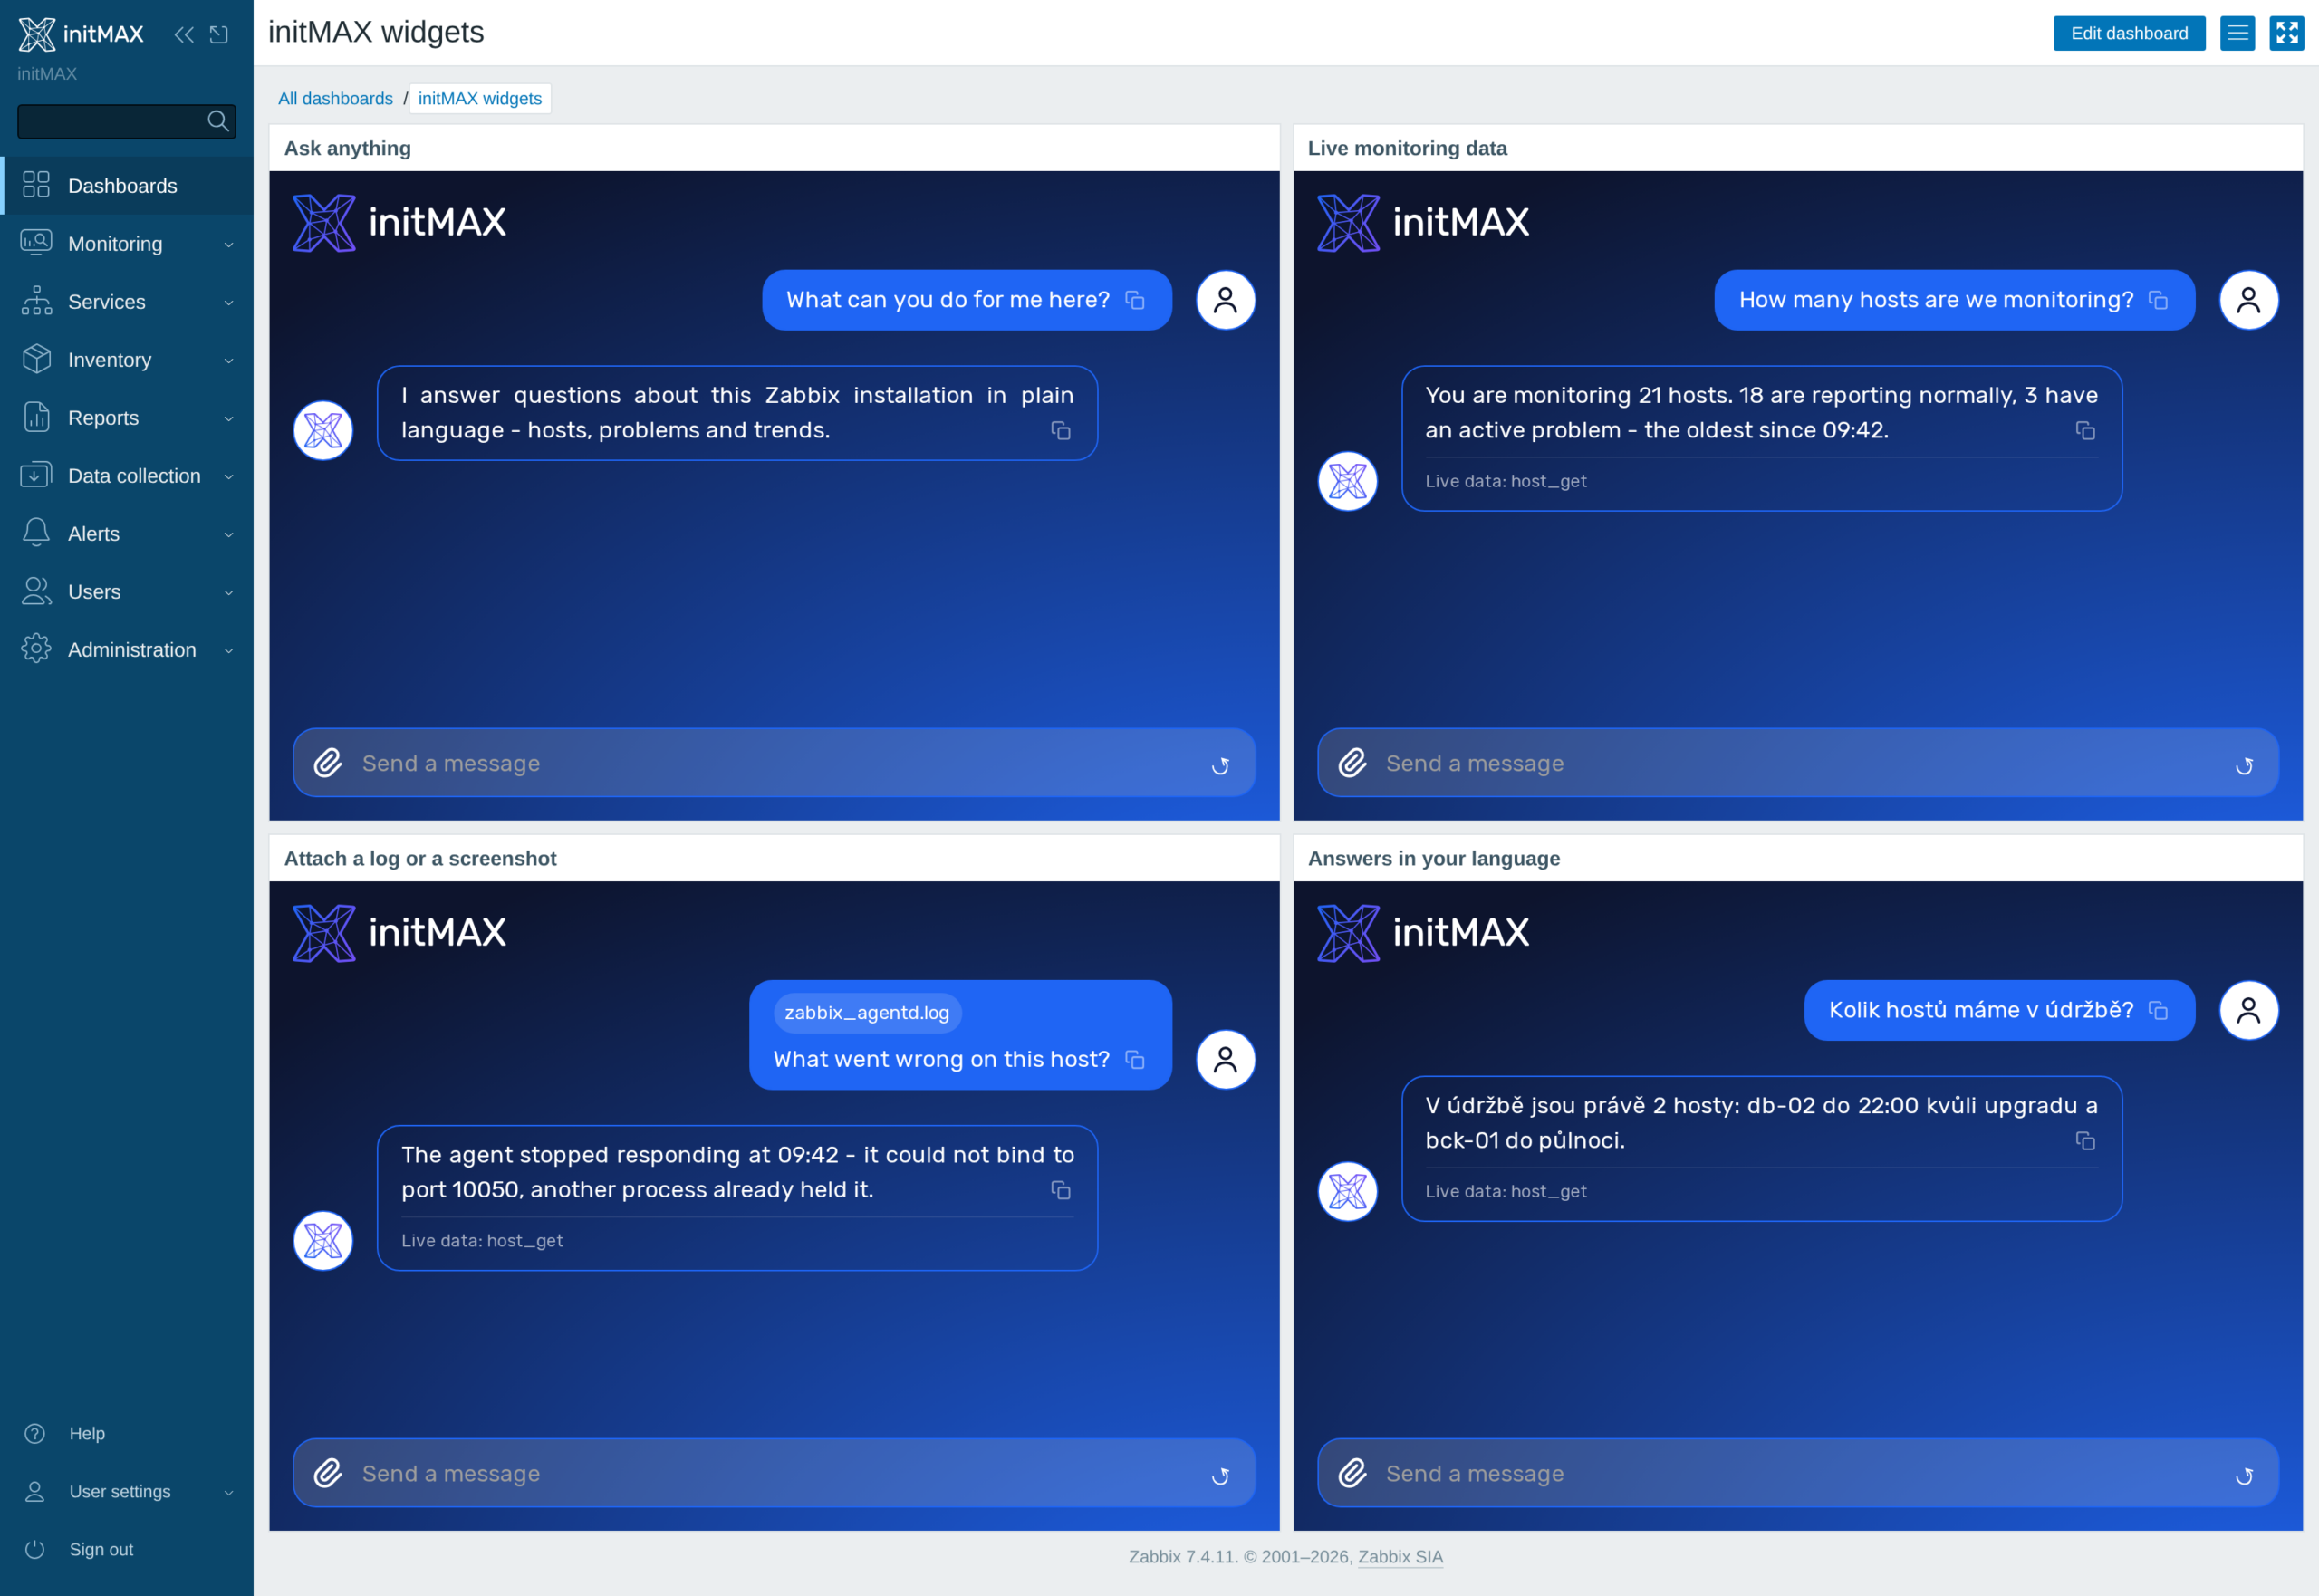
The ChatGPT widget brings an AI chat straight onto your Zabbix dashboard. You ask about your infrastructure where you are already looking at it – no switching to another window, no copying logs somewhere else.
The widget is not tied to a single provider. Choose between OpenAI, Anthropic (Claude), Google Gemini and any OpenAI-compatible endpoint – typically Ollama, vLLM or LiteLLM running on your own network. The model can therefore stay entirely with you and your data never leaves your infrastructure.
Once an MCP server is connected, the model stops talking in general terms and starts working with your Zabbix. It reads hosts, problems, items and history – and, as far as the tools you allow in the MCP configuration let it, it also writes: create a host, update a template or acknowledge a problem. The permission scope stays on the MCP server, not in the browser. We use our own initMAX Zabbix MCP server, which covers the complete Zabbix API.
You can attach a file to the conversation – a log, a configuration file or a screenshot – and let the model look for the cause inside it. The widget can also remember the conversation across a page reload, so a half-finished analysis is not lost.
API keys are managed centrally by an administrator and never reach the browser: the frontend only ever calls Zabbix, which adds the key and sends the request to the provider. The widget runs on Zabbix 6.0 to 8.0 including multi-frontend and HA installations, and answers in the language you ask in.
Provider choice, MCP, attachments and the remembered conversation are PRO edition features. The FREE edition offers the chat over OpenAI with a token entered by an administrator.
Usage examples
Example 1: A plain question about Zabbix (FREE)
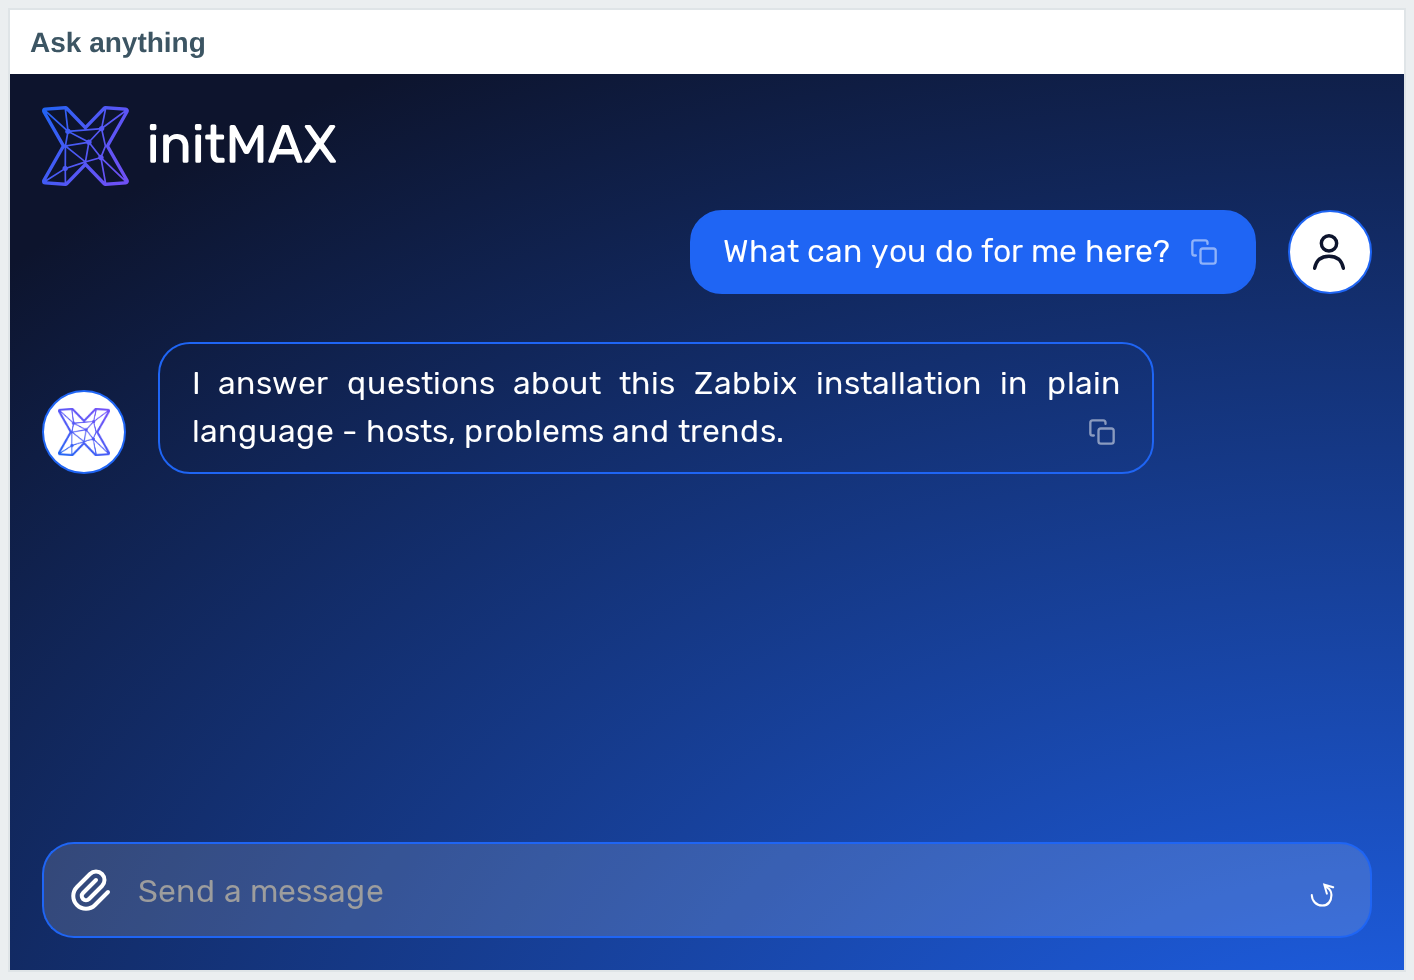
Put the widget on a dashboard next to your other tiles and ask in plain language. The answer is streamed word by word, so you see it being written, and every message can be copied with a single click.
Example 2: Live Zabbix data through MCP (PRO)
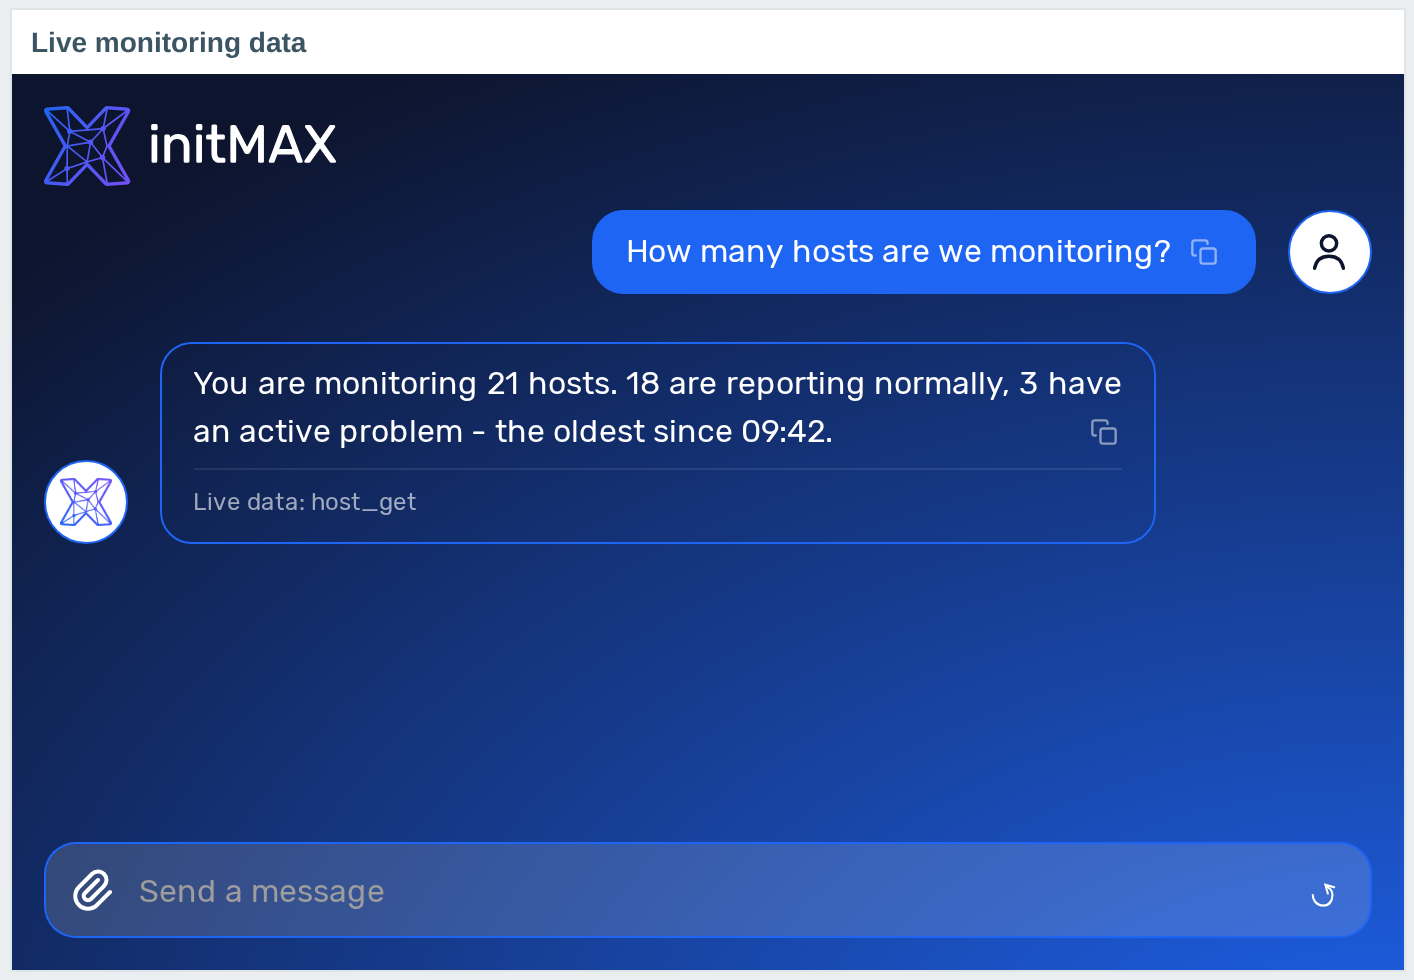
With an MCP server connected, the model asks Zabbix rather than asking you. For “How many hosts are we monitoring?” it calls host.get itself, counts them, and shows underneath which tools it used. We use our own initMAX Zabbix MCP server for this, which covers the complete Zabbix API. It can write the same way – the scope is decided by the MCP server configuration, not by the widget.
Example 3: Reading an attached log or configuration (PRO)
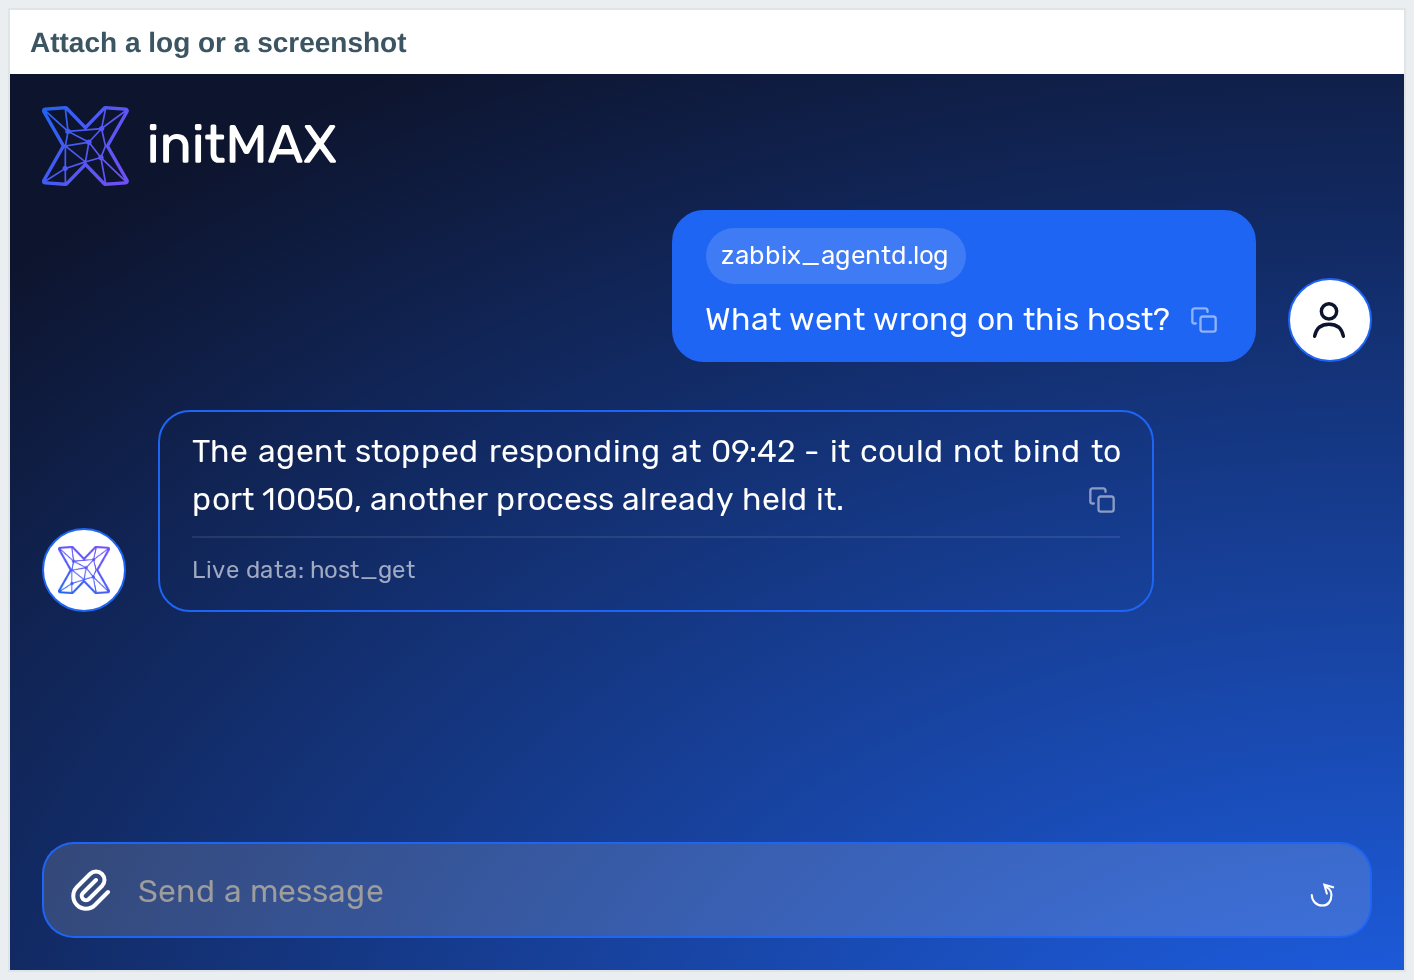
Attach a file to your message – zabbix_agentd.log, a configuration file or a screenshot – and ask what went wrong. The model reads the attachment and answers about it, so there is no need to paste long outputs into another tool.
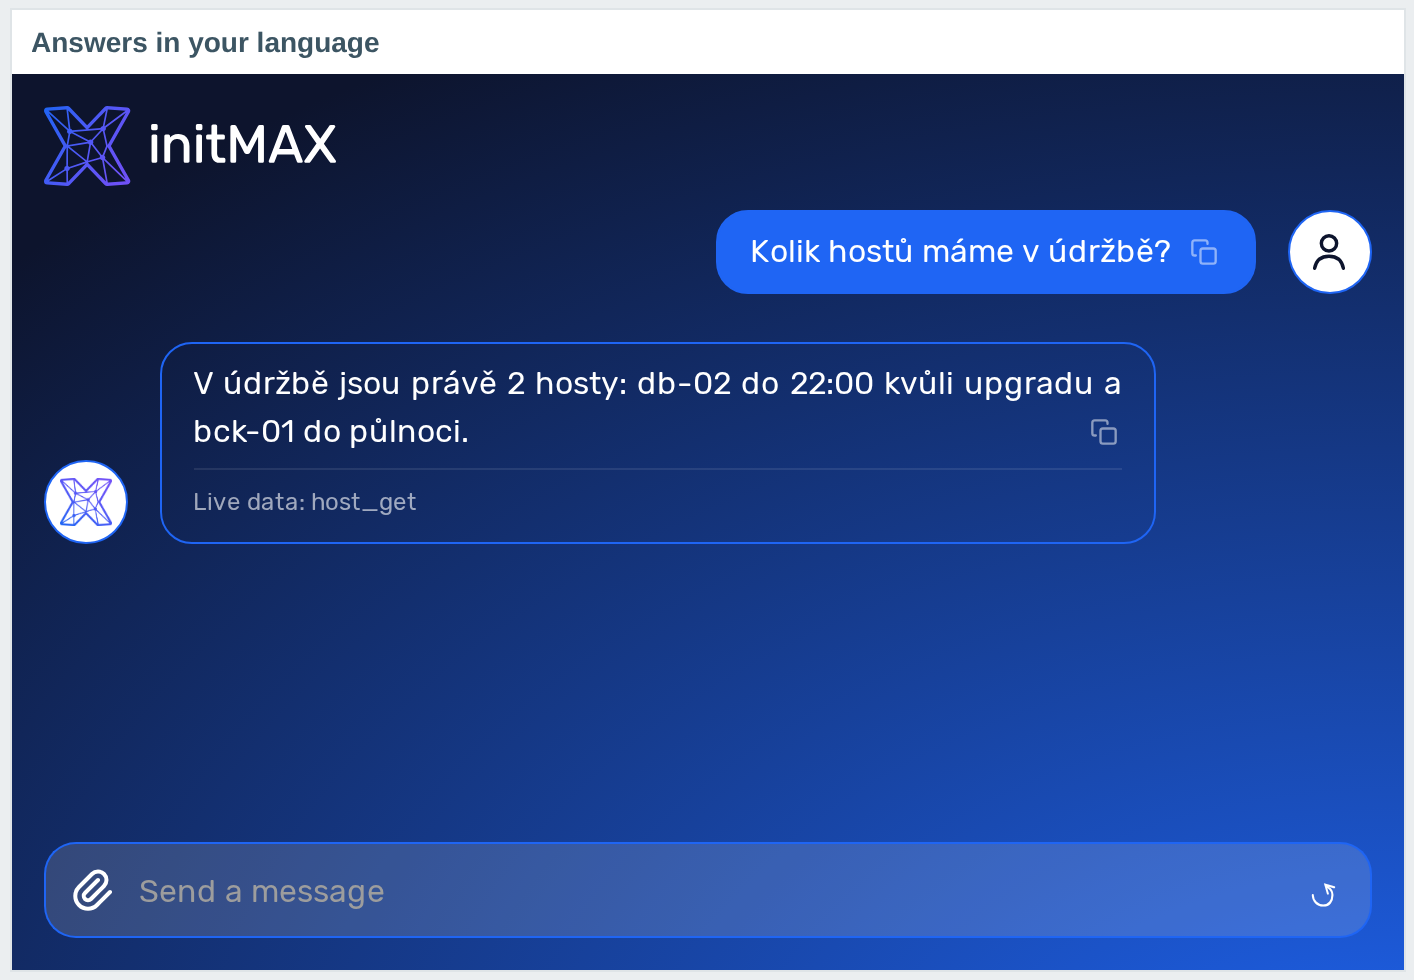
Example 4: Answers in the language you ask in
The widget is localized into every language Zabbix offers, and the model replies in the language of your question – a question asked in Czech gets a Czech answer, with nothing to switch.
Installation
The ChatGPT widget is distributed as a standard deb/rpm package from our repository repo.initmax.com. The package detects your frontend version and deploys the matching module tree into it. It supports Zabbix 6.0 – 8.0 and is HA ready – multi-frontend / HA setups work out of the box, just install the package on every frontend node.
Connect to the server running the Zabbix frontend over SSH (do this on every frontend node) and pick your distribution. Would you rather have a plain archive? Every release also ships as a ZIP – FREE straight from the repository, PRO from the customer portal once you sign in – handy for offline or manual installs.
RHEL / Rocky / Alma

FREE edition
# RHEL / Rocky / Alma
rpm -Uvh https://repo.initmax.com/zabbix/release/initmax-release-latest.noarch.rpm
dnf clean all && dnf install -y zabbix-module-chatgpt
PRO edition
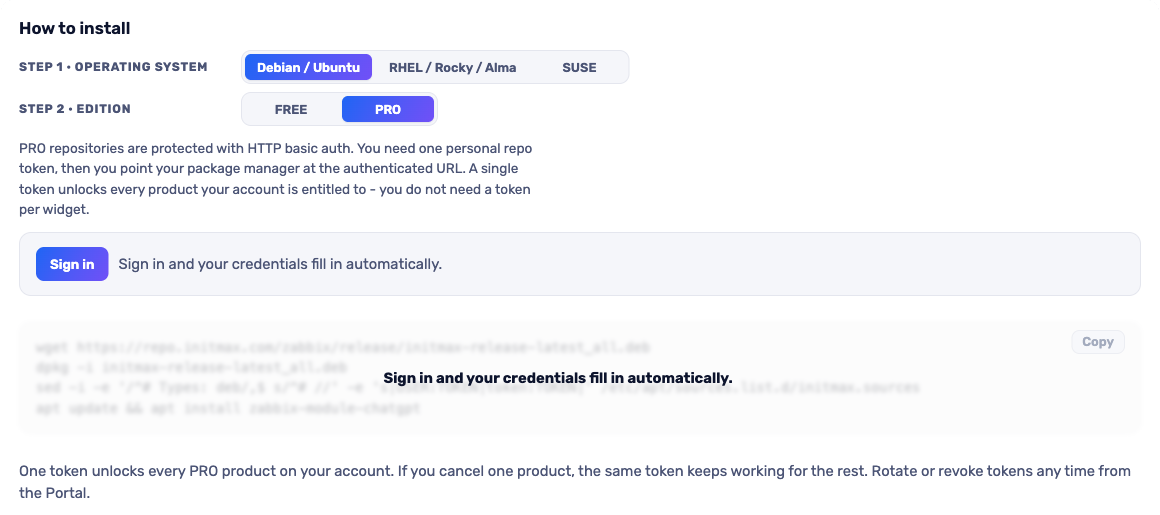
The most convenient route is the portal: pick your operating system and the PRO edition, sign in and your token is filled into the command for you – just copy it. Open the installer in the portal (the image below is clickable too).
SUSE
FREE edition
# SUSE
rpm -Uvh https://repo.initmax.com/zabbix/release/initmax-release-latest.noarch.rpm
zypper --gpg-auto-import-keys refresh && zypper install -y zabbix-module-chatgpt
PRO edition
The most convenient route is the portal: pick your operating system and the PRO edition, sign in and your token is filled into the command for you – just copy it. Open the installer in the portal (the image below is clickable too).
Debian / Ubuntu
FREE edition
# Debian / Ubuntu
wget https://repo.initmax.com/zabbix/release/initmax-release-latest_all.deb
dpkg -i initmax-release-latest_all.deb
apt update && apt install zabbix-module-chatgpt
PRO edition
The most convenient route is the portal: pick your operating system and the PRO edition, sign in and your token is filled into the command for you – just copy it. Open the installer in the portal (the image below is clickable too).
Verification
The module is enabled automatically during the package installation. You can verify it in the Zabbix frontend menu: Administration → General → Modules
If the widget was already running on that frontend (from an earlier package or from a manual installation), the package keeps its state – a module you disabled on purpose stays disabled – and the old manual copy is cleaned up as well, so the widget never shows up twice in the module list. Existing ChatGPT widgets on your dashboards keep working, the widget type does not change. Updates then arrive through your package manager (apt / dnf / zypper) like any other system package.
Configuration
Conversation controls (FREE and PRO)
An administrator manages tokens and controls who can use them. FREE and PRO include Send by Enter and streaming switches. The conversation follows the latest answer; after scrolling back through history, use the return-to-latest control to resume following it. The API key stays on the server.
AI provider keys
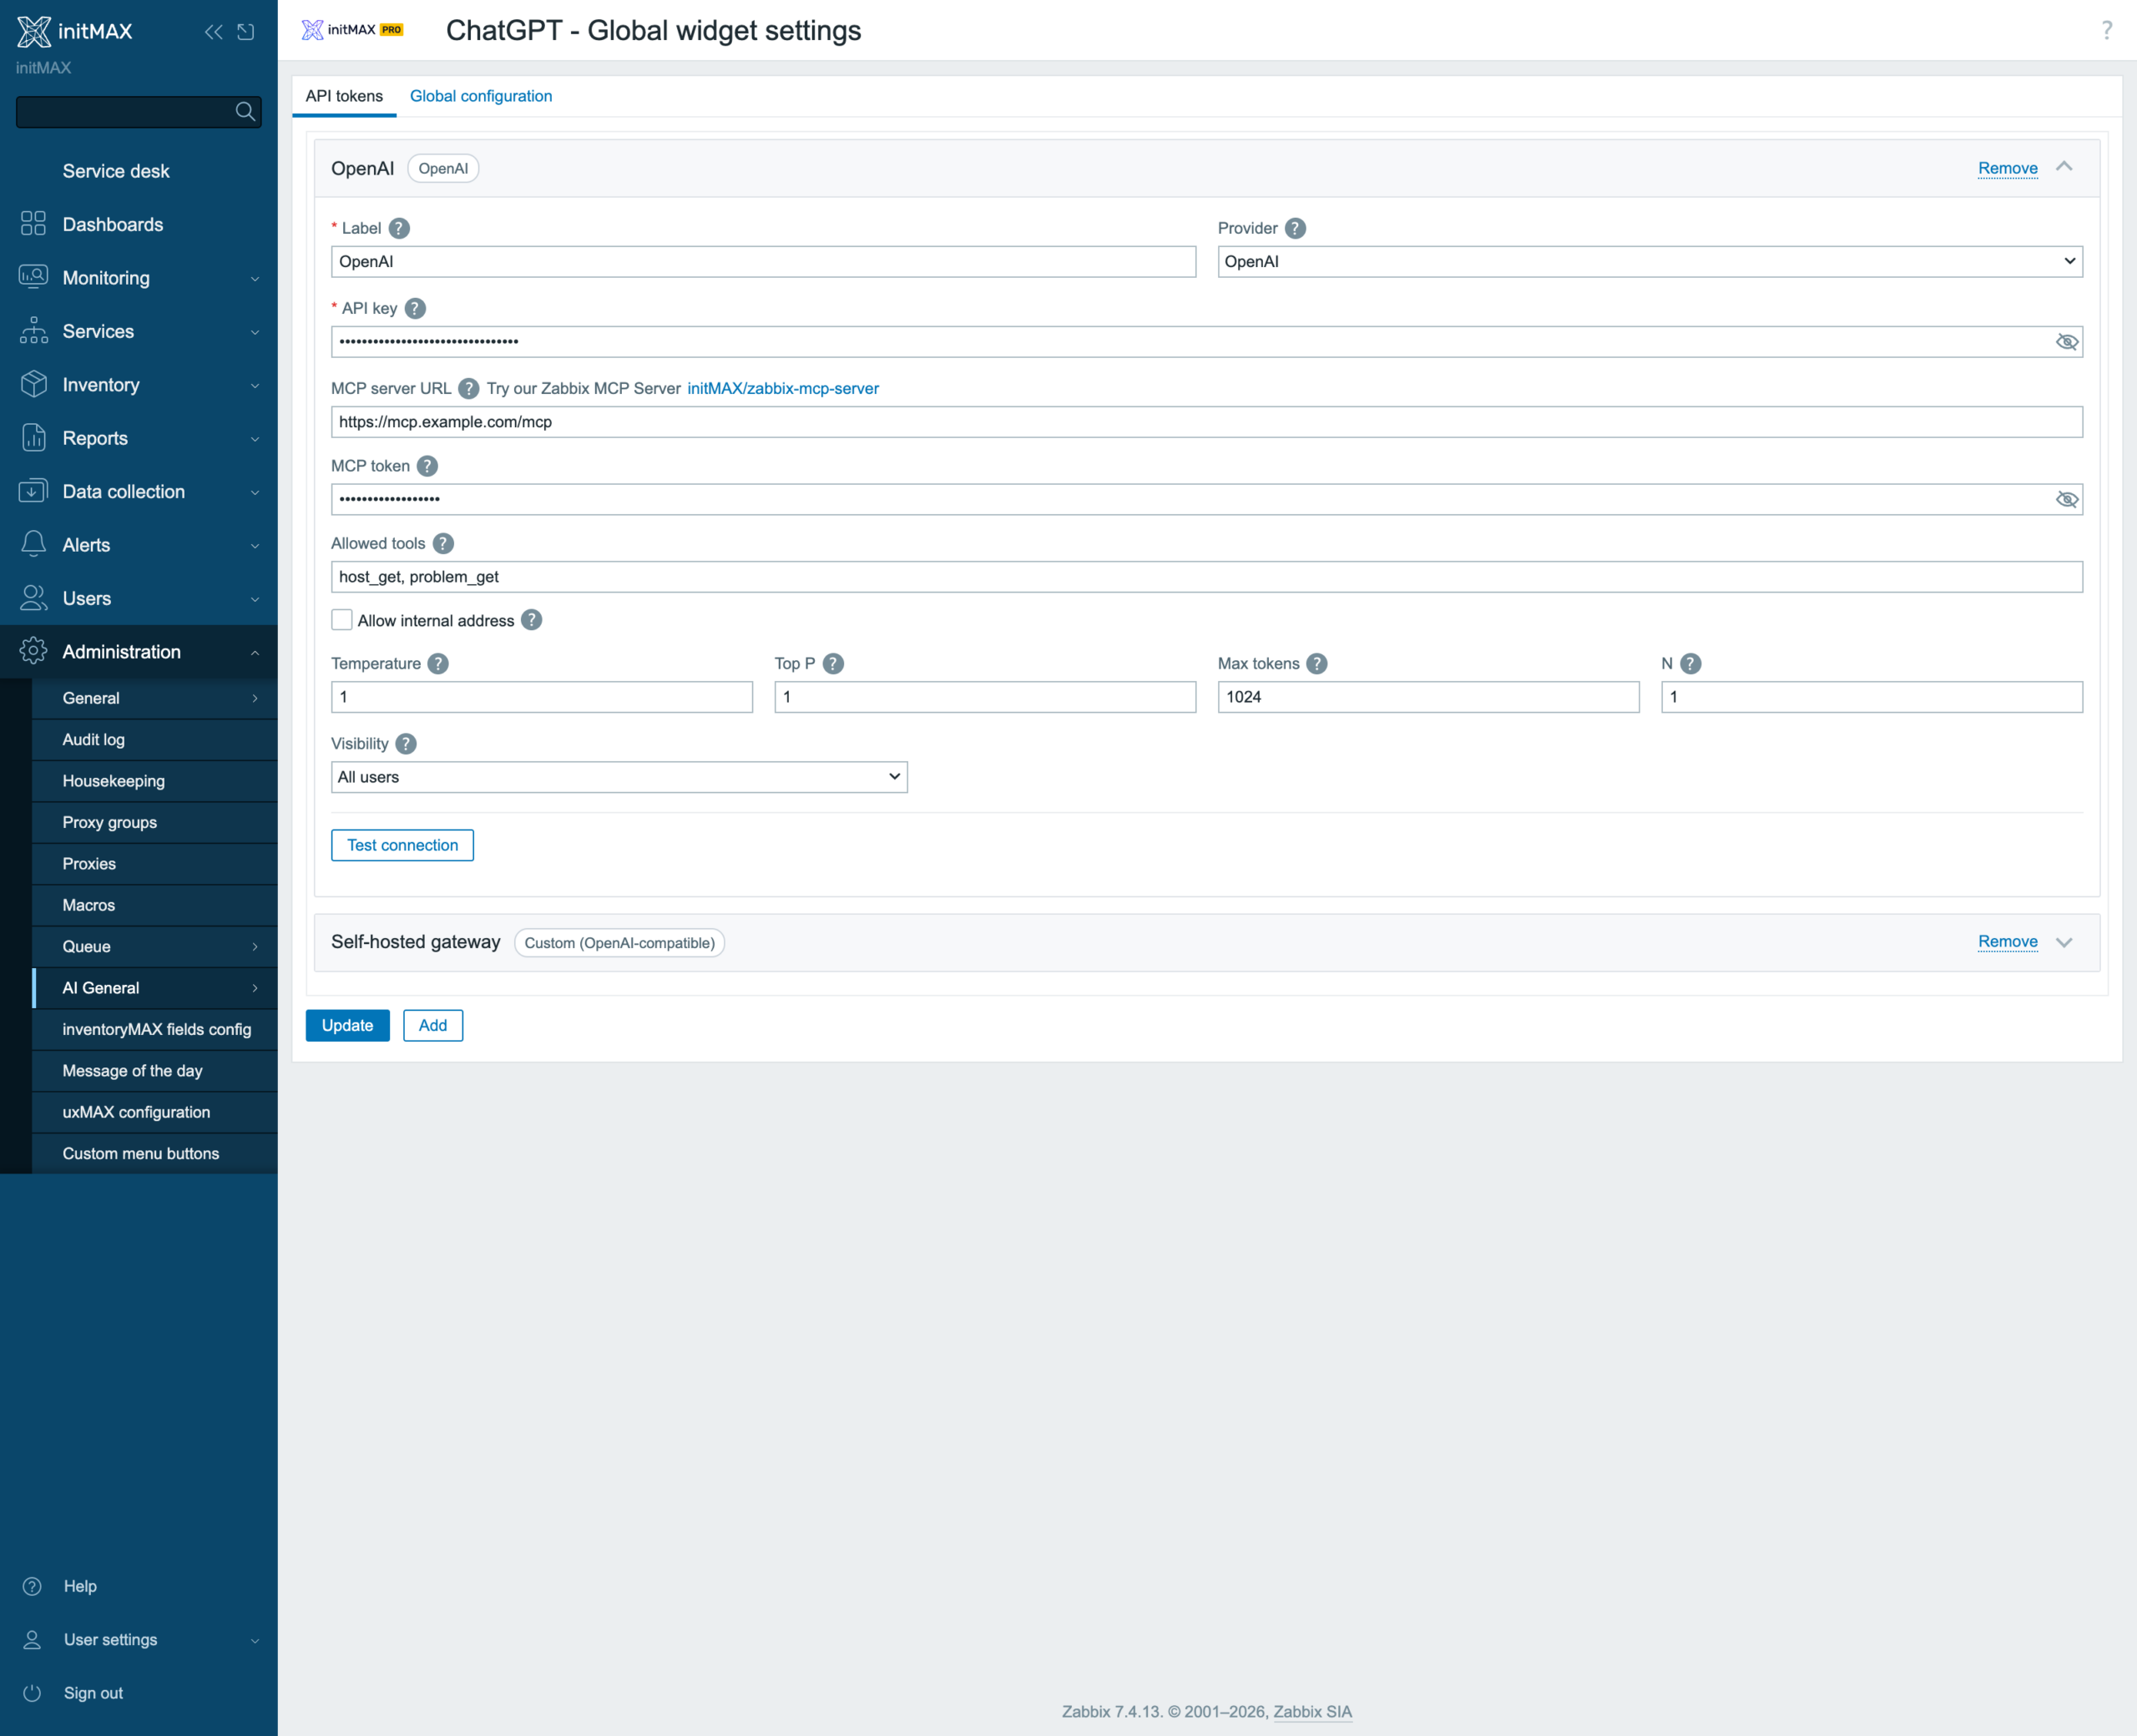
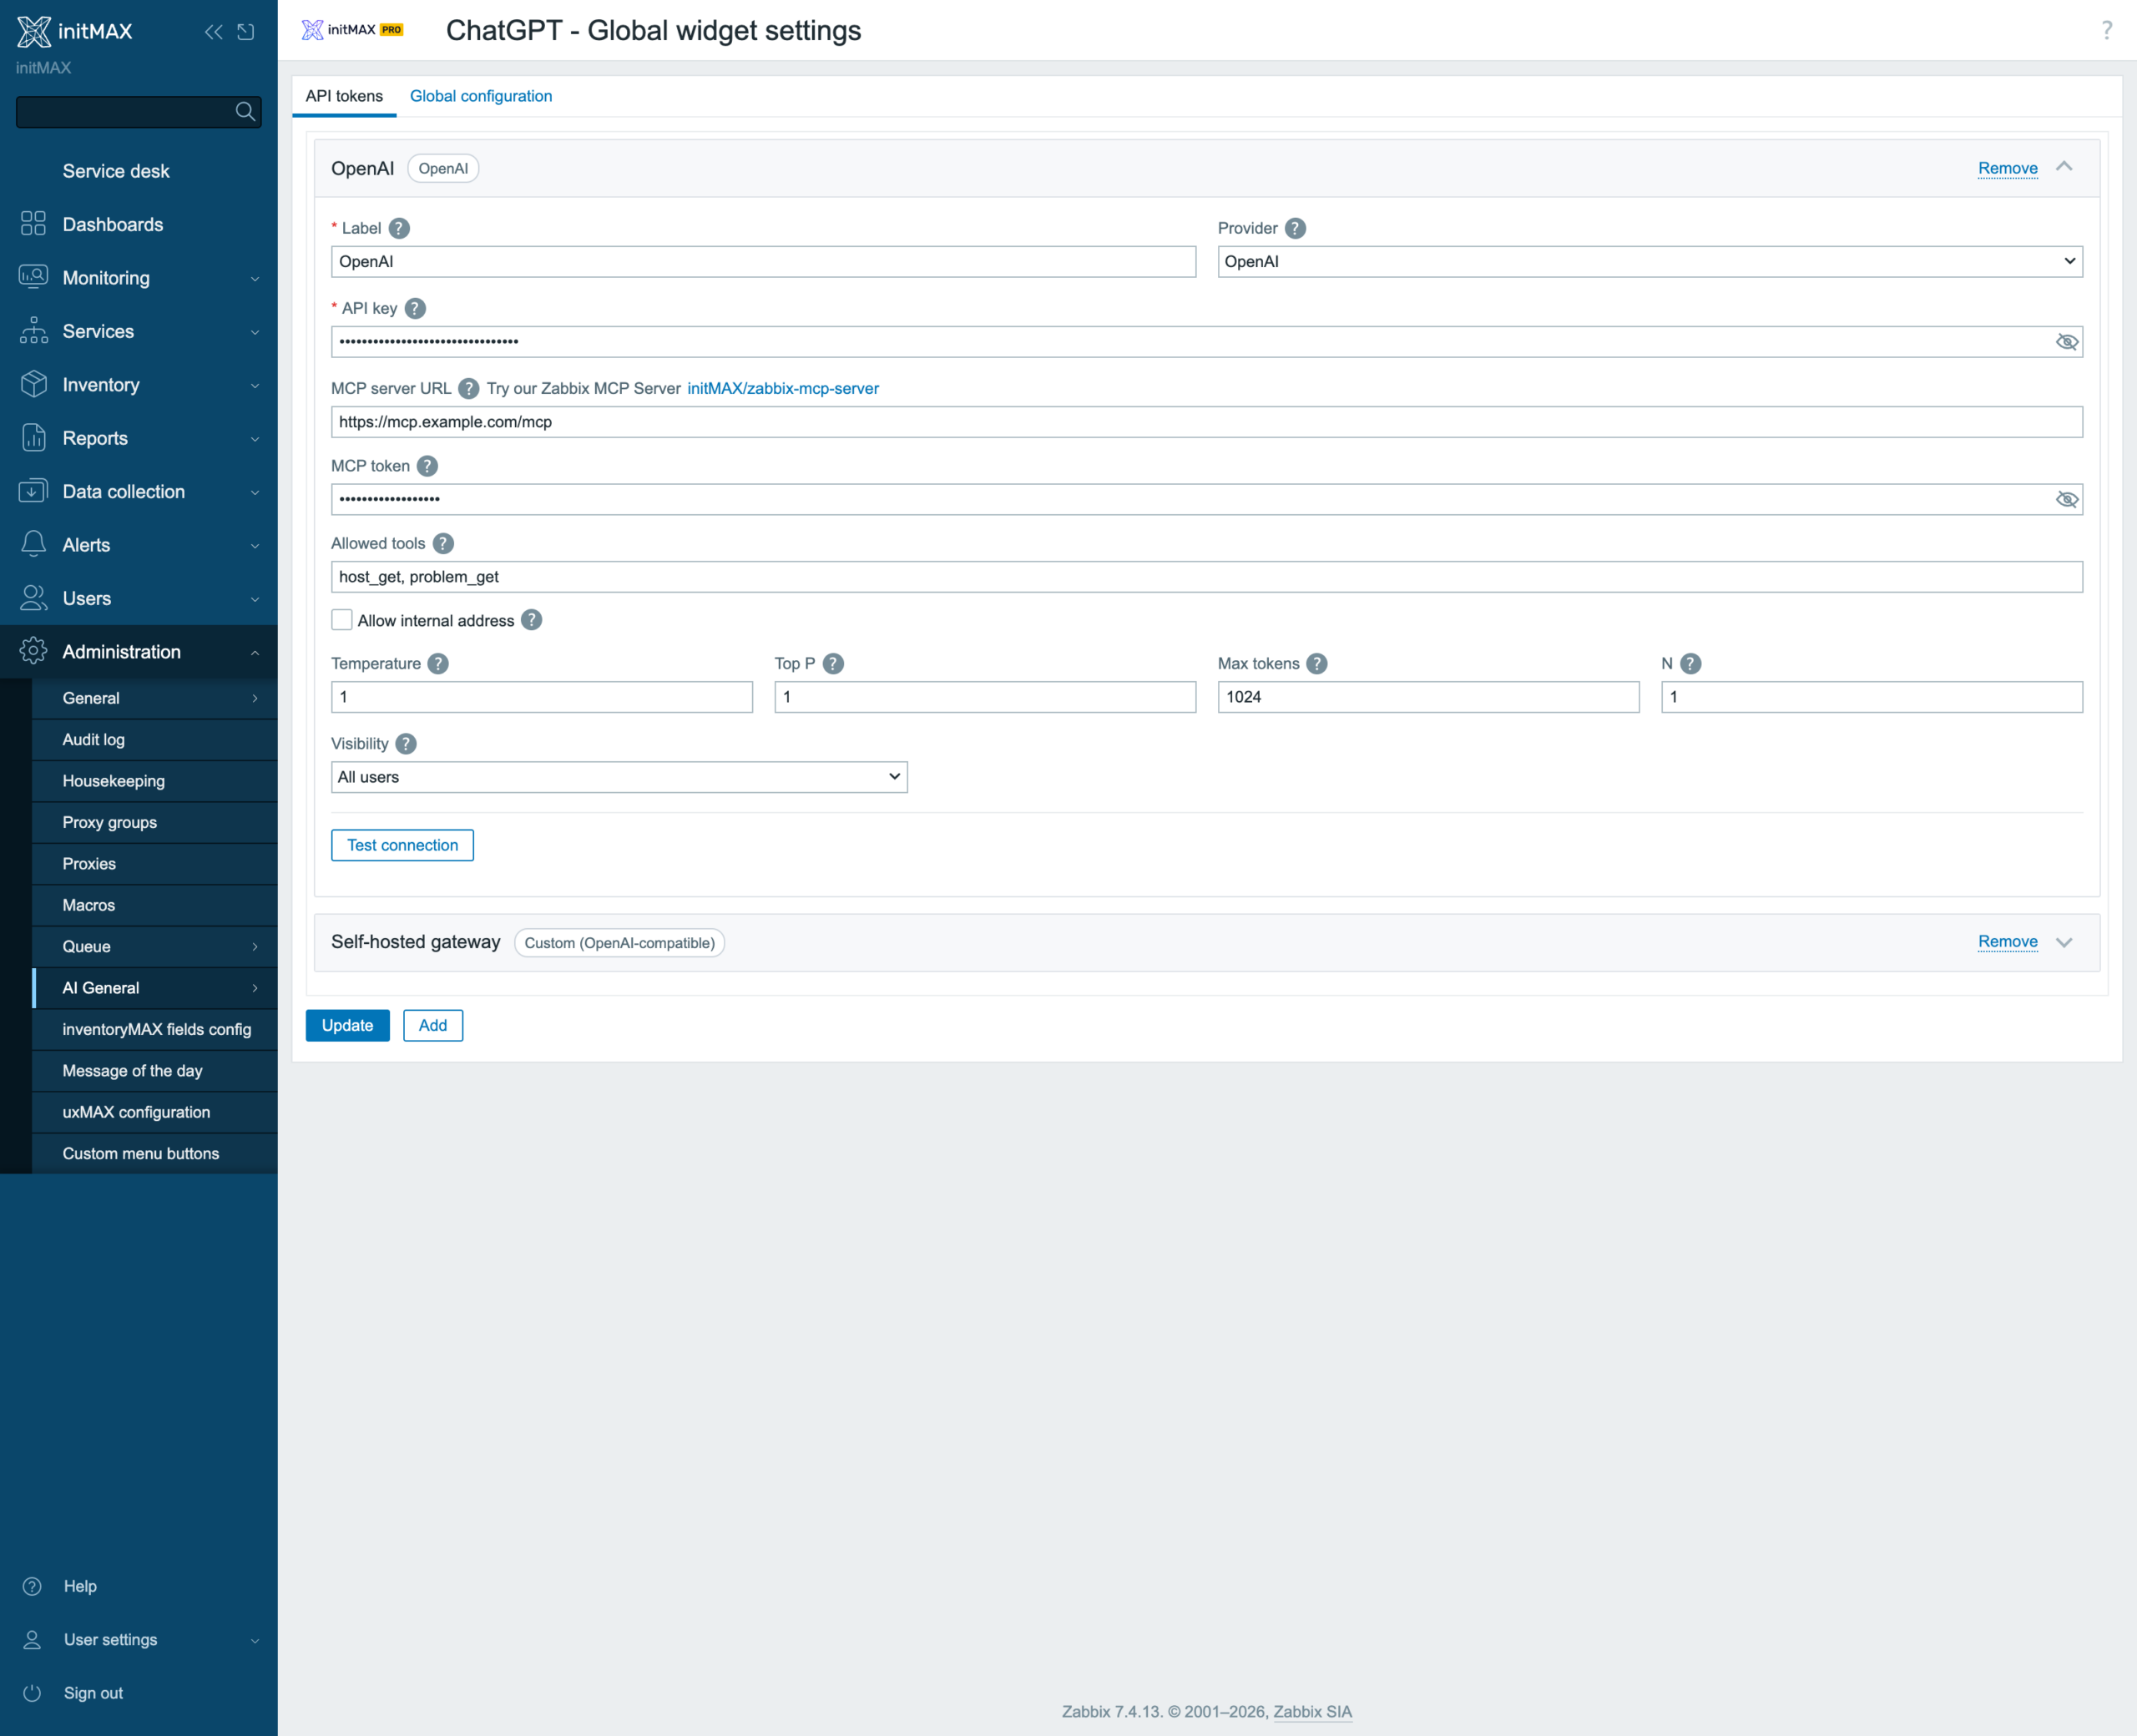
API keys are created by an administrator in Administration → General → AI General, on the API tokens tab. Every token has a name, a provider and optionally its own endpoint – so a single Zabbix can hold, for example, a production OpenAI key next to a local Ollama. Widget users then just pick a token from the list; they never see its value and the frontend never receives it.
Global settings
On the Global configuration tab you can prescribe one token and one model for the whole installation. Users then simply drop the widget onto a dashboard and configure nothing – the provider and model fields are hidden in the widget configuration.
Widget settings
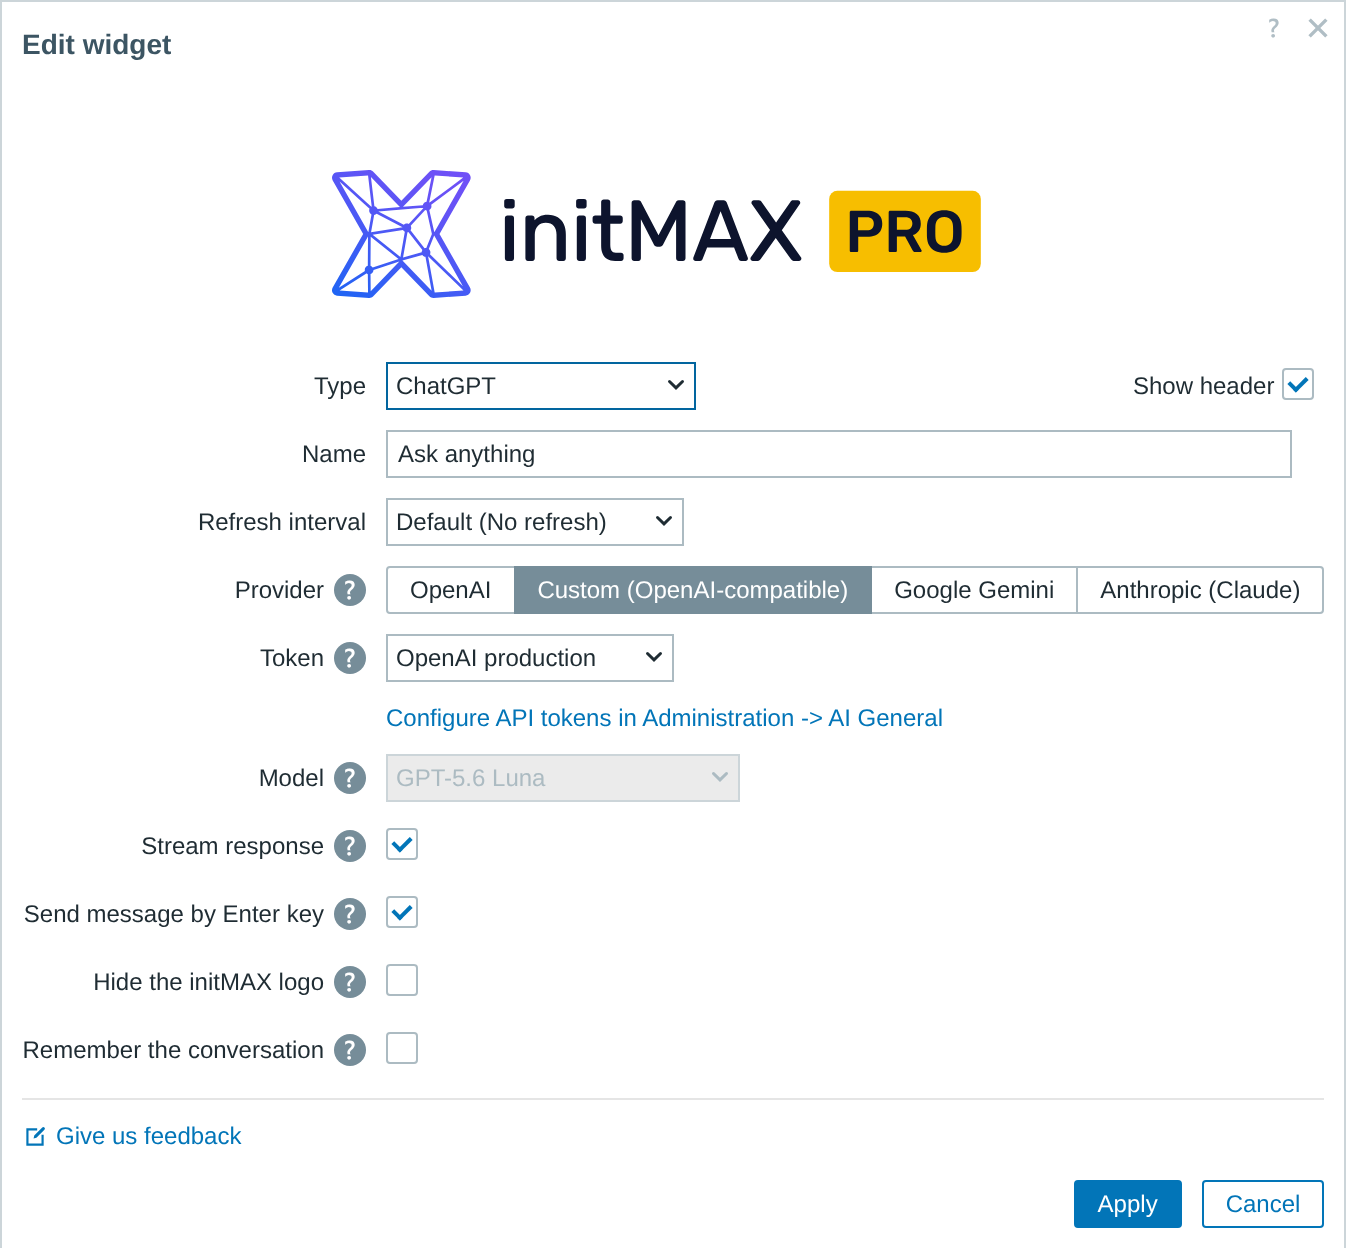
Everything else is set directly in the tile configuration on the dashboard:
- Provider (PRO) – OpenAI, Custom (OpenAI-compatible), Google Gemini or Anthropic (Claude).
- Token – which of the tokens created in administration this tile should use.
- Model (PRO) – a specific model of that provider; the field is locked while global settings are enabled.
- Stream response – the answer is printed as the model generates it.
- Send message by Enter key – send the message with the Enter key.
- Hide the initMAX logo (PRO) – hides the logo inside the widget body.
- Remember the conversation (PRO) – the conversation survives a page reload and a sign-out.
Where to get it?
You will find the widget in our product catalog, where you can read more about both editions and how to get the product. After the purchase, your licence and the install commands are waiting in the customer portal.