
Custom menu buttons
Put your service desk, runbook, Grafana and internal tools directly into the Zabbix menu. Choose the label, URL, icon, placement and whether each link opens in the same or a new tab.
Requirements
Supported Zabbix versions
6.0 – 8.0
Min. supported PHP version
7.4
Module overview
• Custom links in both the main Zabbix menu and the user menu.
• Place an entry before, after or inside any existing item, including nested menus.
• About 3,600 bundled icons, searchable by name.
• Open each destination in the same tab or a new tab.
• Centrally managed by a Super admin; database-backed configuration works across HA frontend nodes.
• One package for Zabbix 6.0 – 8.0, distributed as signed DEB, RPM and ZIP artifacts.
How it looks in practice
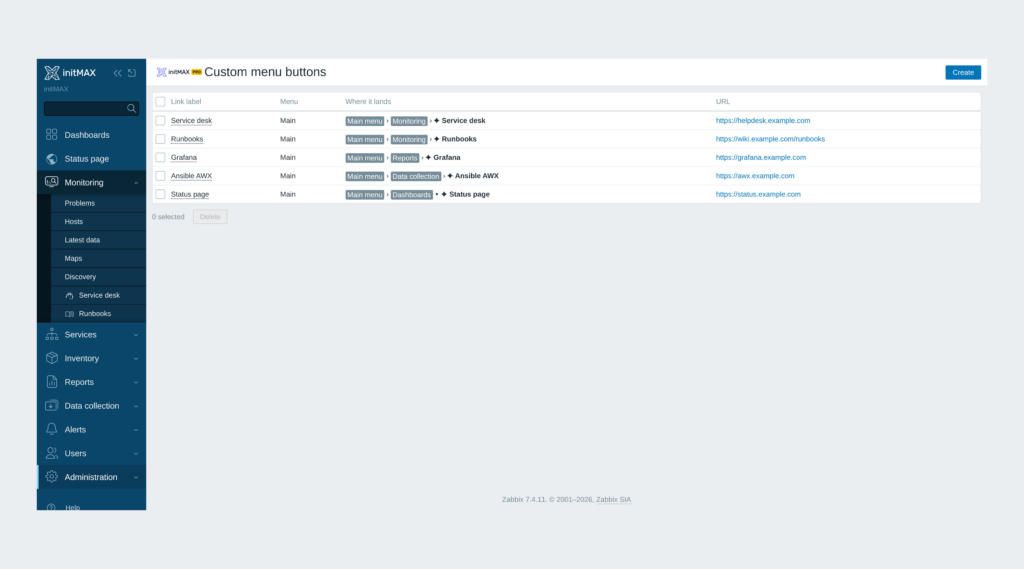
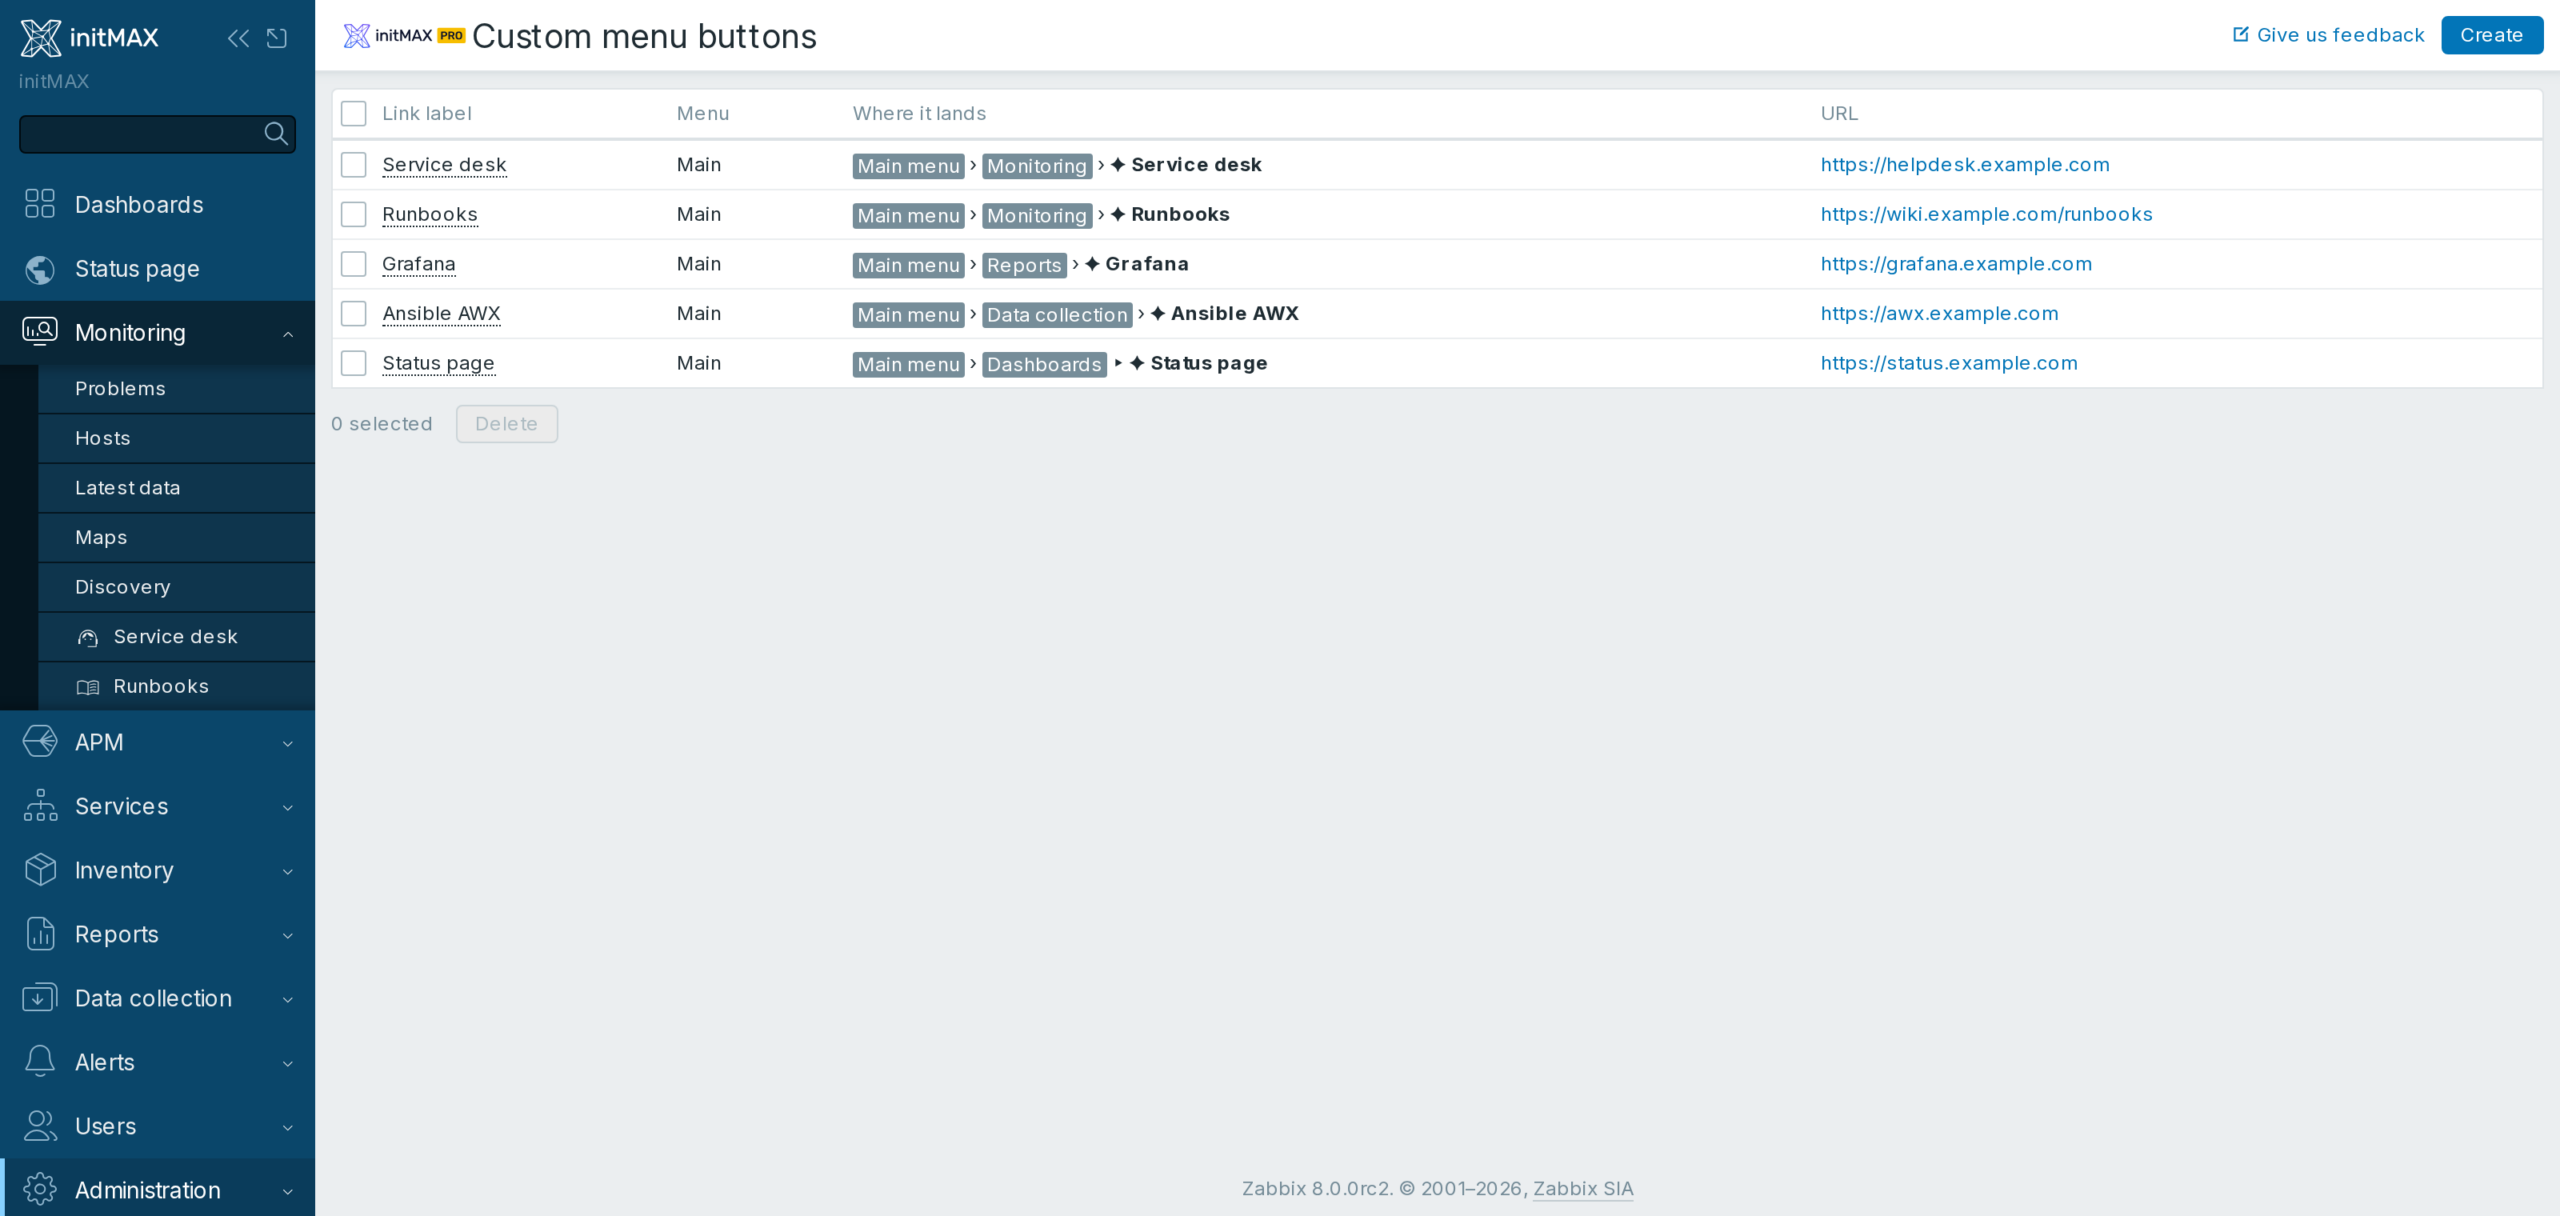
Service desk and Runbooks sit under Monitoring, Grafana under Reports and a Status page at the top of the sidebar – each with its own icon, opening in a new tab. Operators reach the tools they use during an incident without leaving Zabbix.
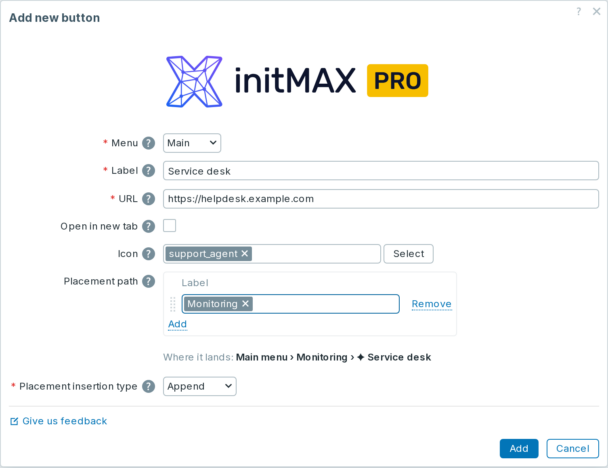
Buttons are managed on one administration page: label, URL, icon, and exactly where the entry sits. The create dialog and the icon picker are in the product wiki.
Documentation
Access detailed documentation in our product wiki, including step-by-step setup, system requirements, customization options, and real-use configurations.

Editions
2 399 Kč€89$99
without VAT · lifetime license
Applicable taxes based on your billing country are shown at checkout.
Links in the main and user menus
About 3,600 searchable icons
Place before, after or inside a menu
Same or new tab per link
HA ready
Full localization – every Zabbix language
Editions
2 399 Kč€89$99
without VAT · lifetime license
Applicable taxes based on your billing country are shown at checkout.
Links in the main and user menus
About 3,600 searchable icons
Place before, after or inside a menu
Same or new tab per link
HA ready
Full localization – every Zabbix language
Purchase, delivery and updates
Purchase the product
The PRO licence is bought here: one payment, a lifetime licence, no subscription and no renewal. The e-mail address used for the order identifies your organization and the product is assigned to it automatically.
Delivery and updates – initMAX Portal
Delivery and every future update go through the initMAX Portal: after the purchase you find the product in your account with the ready-made installation command for your OS, the signed DEB and RPM packages, a ZIP archive and all releases. repo.initmax.com is only the package storage behind it – the Portal issues the token that unlocks the PRO packages there.
Similar products
inventoryMAX
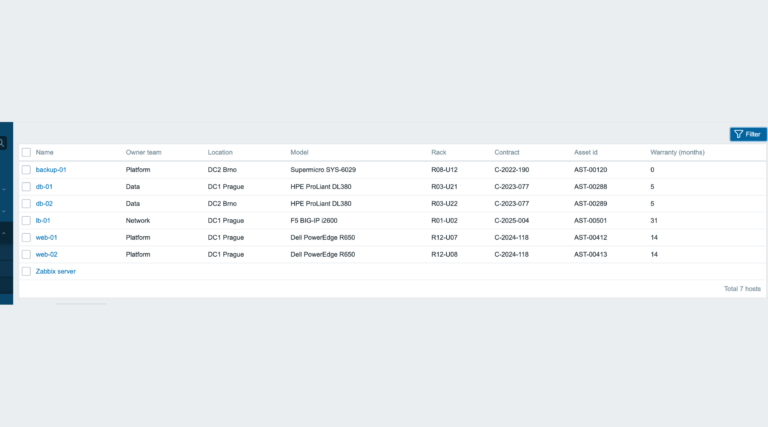
inventoryMAX adds custom fields to Zabbix inventory for flexible, structured metadata management and seamless macro-based integration.
Hide widget header
This module prevents widget headers from being displayed when dashboards are not in edit mode, improving visual clarity and user experience.
Structured Dashboard
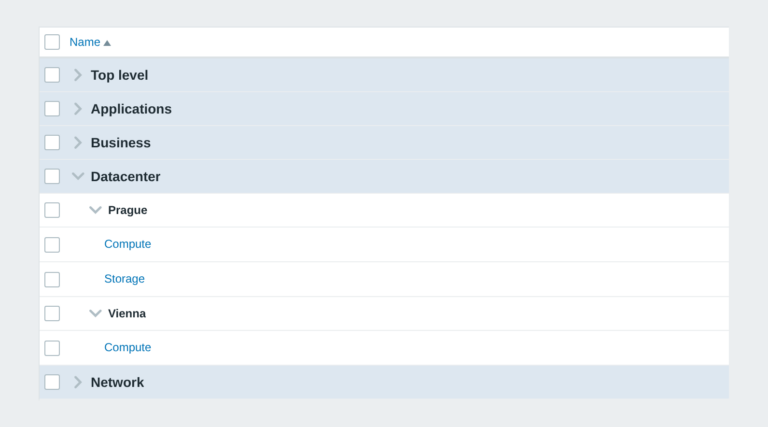
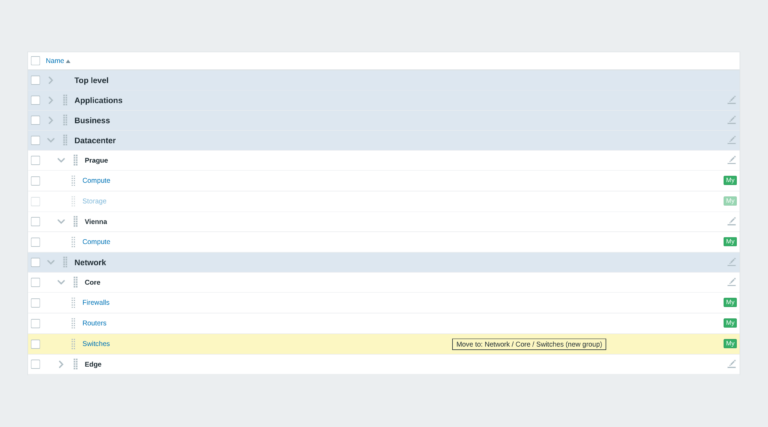
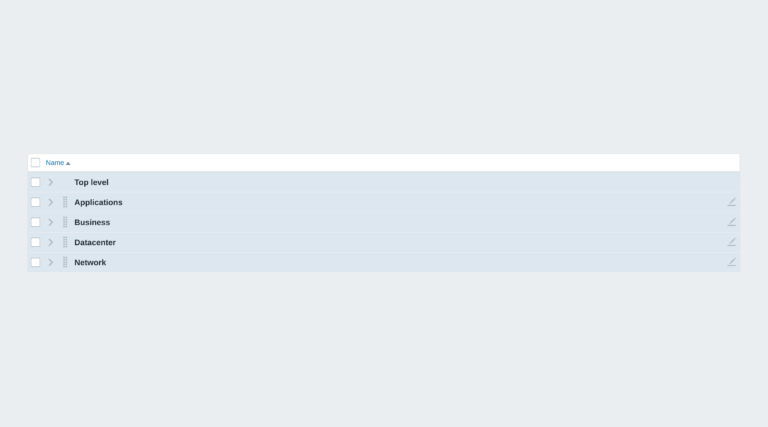
Zabbix module that organizes dashboards into structured groups using naming conventions, enabling automatic hierarchy and easier navigation.
FAQ
Select the desired widget on the product page and click the Get PRO button. You will go through a short checkout handled by FastSpring – you can pay by card, Google Pay or Apple Pay. The purchase is one-time: you get a lifetime license, with no subscription and no recurring fees. After payment you receive an invoice and an invitation to the initMAX customer portal, where you will find the product, issue a repository token and install the PRO edition from repo.initmax.com. Updates and support are included for as long as initMAX maintains the product.
Open https://portal.initmax.com, click “Forgot password?” on the sign-in page and enter the e-mail address you used when purchasing the product – you will receive a reset link. Repository tokens can be re-issued anytime in the portal under Profile – Repo tokens. If you no longer have access to that mailbox or run into any issue, contact our support at [email protected] and we will help you recover the account.
A running Zabbix installation – the supported Zabbix versions and the minimum PHP version are listed in the Requirements section of each product page. The widget installs on the Zabbix frontend server as a standard deb/rpm package from repo.initmax.com, so you need root access to that server. No special hardware is required.
You will receive an email confirmation of the successfully paid order together with an invoice. Right after the purchase we create your account in the initMAX customer portal (https://portal.initmax.com) and send you an invitation email – there you activate the account and set your password. In the portal you will find your licensed products, release changelogs, documentation and guided installation instructions. Paid widgets install directly from our package repository repo.initmax.com: issue a repository token in the portal (Profile – Repo tokens) and follow the How-to-install steps shown in the product catalog. Updates are then delivered through your package manager (apt/dnf/zypper).