Enhanced Problems
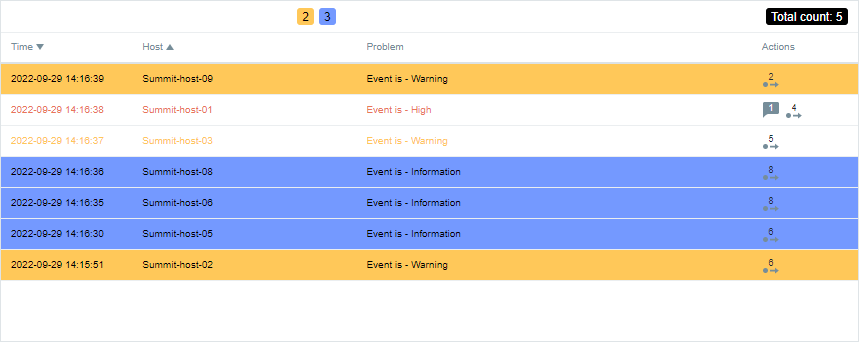
Standard events can be filtered by severity, tags, host, host groups, or problems. Select one or more events using the mouse (CTRL or SHIFT keys) for mass operations like acknowledging, de-acknowledging, or creating trouble tickets. Events can be sorted by time, host, problem, severity, or acknowledgment. Customize columns by changing order, hiding them, or adjusting labels and widths. Style acknowledged events visually. View event counters by severity and raise the Zabbix widget’s limit on displayed events. Fonts and sizes can also be customized (Arial or Georgia).

Requirements
Supported Zabbix version
6.0 or 6.2
Min. supported PHP version
8.0
Module functionallity
- Standard events filtering by specifying severities, tags, host, host groups or problems
- Select by mouse one or more events (optionaly can be used CTRL or SHIFT keys) and make mass operations on them (acknowledge, deacknowledge, create trouble ticket)
- Multilevel sorting of events (time, host, problem, severity or acknowledged)
- Ability to change columns order or hide unwanted columns
- Optionaly change column labels
- Posibilities to change percentual width of each column
- Style of display acknowledged events (visual style)
- Counter of events in widget header by severities and total events (variation of Non acknowledged + Acknowledged, Acknowledged only or Non acknowleded only)
- Raised built-in Zabbix limit of maximum displayed events in widget
- Posibilities to change your favorite fonts
Editions
Free
Editions
Free
Instalation
- Connect to your Zabbix frontend server (perform on all frontend nodes)
- Navigate to the
ui/modules/directory (uiis typically located at/usr/share/zabbix/)
cd /usr/share/zabbix/modules/- Clone repository on your server
git clone https://git.initmax.cz/initMAX-Public/Zabbix-UI-Modules-Enhanced-Problems.gitChange the owner of directory to your web user with chown
Choose default OS user
- nginx
chown nginx:nginx ./Zabbix-UI-Modules-Enhanced-Problems- apache (RHEL)
chown apache:apache ./Zabbix-UI-Modules-Enhanced-Problems- apache (DEB)
chown www-data:www-data ./Zabbix-UI-Modules-Enhanced-Problems- Go to Zabbix frontend menu -> Administration -> General -> Modules

- Use the Scan directory button on the top

- Enable the newly discovered module

- Done
- Use it and enjoy!
Similar products

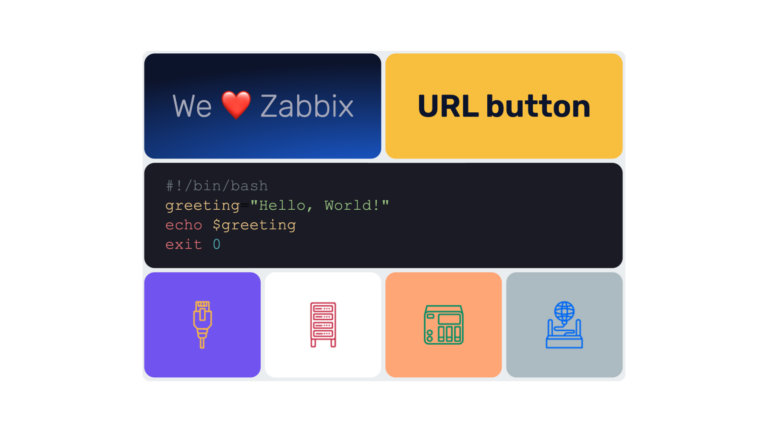
headerMAX
Zabbix widget that allows users to create section headers, embed images, or add buttons with customisable URL links in the dashboard UI.

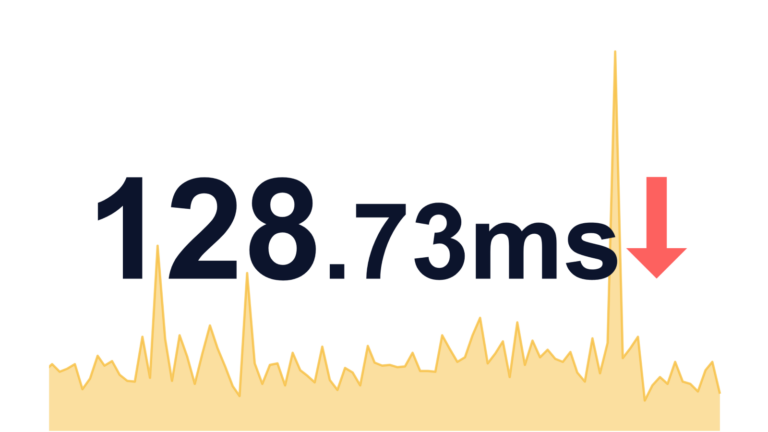
itemMAX
Extends the Item value widget with a background graph. Clearly and concisely displays current status information along with historical data visualization.

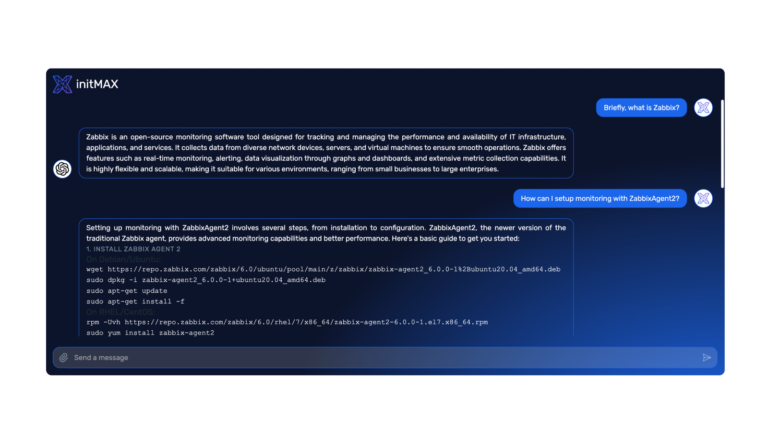
ChatGPT
The ChatGPT widget integrates AI capabilities into your Zabbix dashboard, allowing interaction with OpenAI models directly from the widget.
FAQ
You will need to have Zabbix 7.0 and PHP version 8.0 installed and running. In terms of hardware, you need any device that will run Zabbix correctly.
